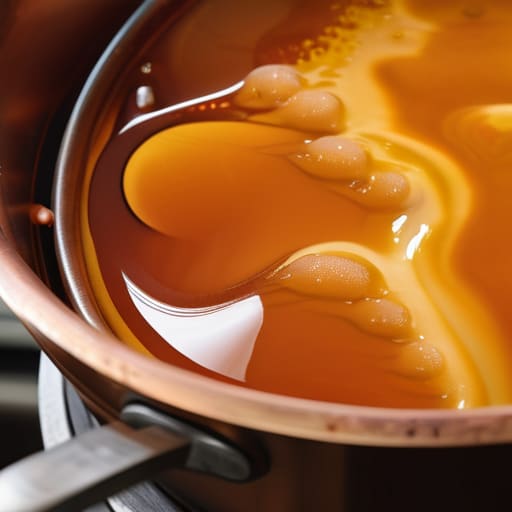
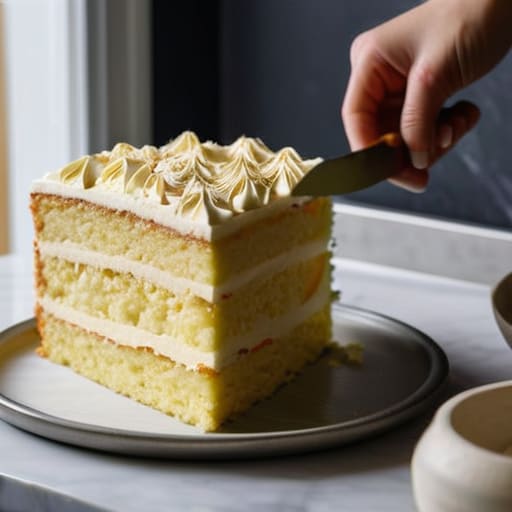
People will tell you that the secret to a perfect caramel is a fancy thermometer or a heavy-bottomed copper pot, but they’re wrong. The real secret is simply having the nerve to watch the sugar and the sense to walk away when it starts to smoke. I spent years in my bakery watching beginners ruin batches because they were too afraid to let the heat do its work, or worse, they tried to rush the process by adding cream too quickly and ended up with a burnt, bitter mess. Learning how to make salted caramel sauce isn’t about mastering a piece of equipment; it’s about understanding the transition from pale sand to that deep, soulful amber that tells you the flavor is finally ready.
I’m not going to give you a list of complicated gadgets or promises of a “miracle” ingredient. Instead, I’m going to show you how to read the color and smell the change, because that is where the magic actually happens. We’ll talk about the precise moment to introduce your fats and how to balance the salt so it elevates the sweetness rather than fighting it. No fluff, no fancy photos to distract you—just the honest mechanics of heat and timing.
Recipe Details
Ingredients
- 1 cup granulated white sugar
- 6 tablespoons unsalted butter, room temperature
- 1/2 cup heavy cream
- 1 teaspoon sea salt
- 1/2 teaspoon vanilla extract
Recipe Instructions
Step 1
First, gather your ingredients and get them ready. I don’t believe in hunting for things while something is burning on the stove. You’ll need 250g of granulated sugar (100%), 240g of heavy cream (96%) at room temperature, 60g of unsalted butter (24%), and about 6g of fine sea salt. If you pull that cream straight from the fridge and dump it into hot sugar, you’ll get a violent, spitting reaction that will make you jump back, and nobody wants a kitchen covered in hot sugar.
Step 2
Place your sugar into a heavy-bottomed saucepan. If you have a light, thin pot, put it away; you need something that holds heat evenly. Turn the heat to medium and just let it sit. Do not stir it with a spoon like you’re mixing a batter. If you stir too early, you’ll end up with a grainy mess of crystals. Instead, give the pan a gentle shake every now and then to keep things moving, watching for the edges to melt first.
Step 3
Watch the color. This is where most people lose their nerve or their sauce. The sugar will melt into a pool, then start to turn a pale straw color, and finally, it will deepen into a rich, dark amber. You are looking for the color of an old penny or polished wood. If you smell something slightly nutty, you’re on the right track; if you smell something acrid or sharp, you’ve gone too far and need to start over.
Step 4
Once you have that deep amber, turn your heat down just a touch and slowly pour in the cream. It will hiss, steam, and bubble up quite aggressively—this is perfectly normal. Use a whisk to stir everything together until the sugar and cream have married. Don’t be alarmed if it looks thin or separated for a moment; keep whisking with a steady hand until it becomes a smooth, uniform liquid.
Step 5
Finally, take the pan off the heat and whisk in your butter and salt. The butter should be at room temperature so it incorporates without dropping the temperature of the sauce too sharply. The salt isn’t just for flavor; it’s there to cut through the heavy sweetness of the sugar. Let it cool in the pan for a few minutes before you move it to a jar. It will thicken significantly as it cools, so don’t expect it to be thick while it’s still steaming.
The Essential Homemade Caramel Sauce Ingredients and Their Integrity
When you look at the list of homemade caramel sauce ingredients, it looks deceptively simple—just sugar, butter, cream, and salt. But simplicity is where most people trip up. I always tell my apprentices that the quality of your butter matters more than the brand on the wrapper; you want something with a high fat content that behaves predictably when it hits the heat. If you use a cheap, watery margarine, your sauce will break, and you’ll be left with a greasy mess rather than a silky emulsion.
The salt is your secret weapon, not just a seasoning. If you want that professional edge, don’t reach for the fine table salt that sits in a shaker; you need a high-quality flaky sea salt to provide those little bursts of contrast. Most importantly, keep a close eye on your pot to avoid preventing caramel crystallization. If a stray grain of undissolved sugar clings to the side of the pan, it can trigger a chain reaction that turns your beautiful amber liquid into a gritty, sandy disappointment. Watch the heat, trust your nose, and let the ingredients do the work.
Preventing Caramel Crystallization Through Steady Hands and Focus
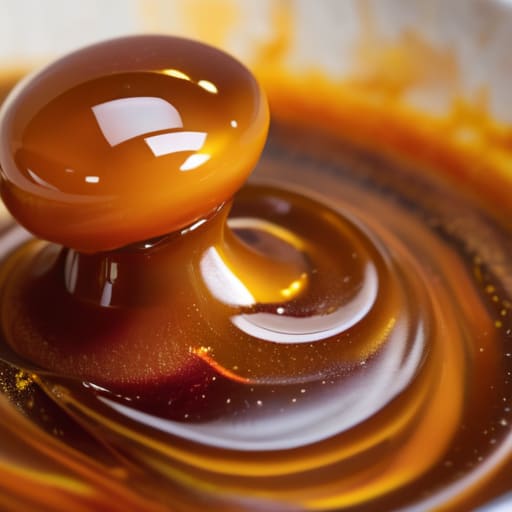
Now, listen closely, because this is where most people lose their nerve and their sauce. When you are melting that sugar, you might feel the urge to grab a spoon and stir it like you’re mixing a batter. Don’t. If you stir that melting sugar, you’ll introduce tiny crystals that act like a contagion, turning your beautiful amber liquid into a grainy, sandy mess. Preventing caramel crystallization isn’t about magic; it’s about leaving the sugar alone and letting the heat do the heavy lifting. If you see a stray crystal clinging to the side of the pan, don’t scrape it back in. Instead, take a pastry brush dipped in warm water and gently wash it down the sides. It’s a small bit of housekeeping, but it makes all the difference between a smooth sauce and a disaster.
Once you finally add your cream, the temperature will drop sharply, and the mixture might seize up and look like it’s gone wrong. It hasn’t. It’s just a bit of a shock to the system. Keep your heat low and steady, and don’t rush the process. If you find the sauce is a bit too thin once it cools, don’t panic—just remember that patience is your best thickening tip. It will settle as it reaches room temperature.
Five Ways to Stop Fighting Your Caramel and Start Listening to It
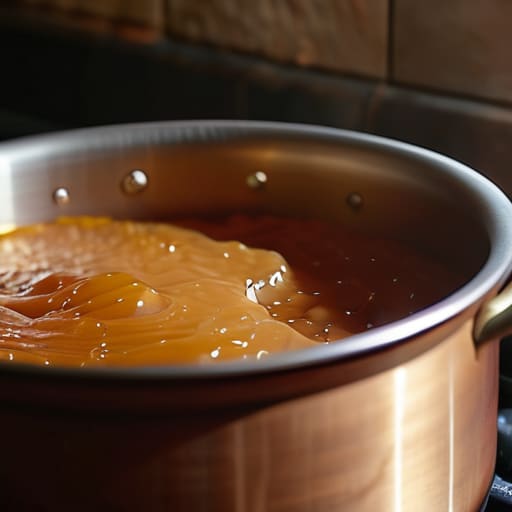
- Watch the color, not the clock. A timer is a suggestion, but the sugar doesn’t care what your watch says. You’re looking for that specific transition from pale honey to a deep, burnished amber. If it starts smelling like toasted nuts, you’re on the right track; if it starts smelling like something is burning, pull it off the heat immediately—you can’t un-burn a mistake.
- Respect the temperature shock. When you pour that cream into the hot sugar, it’s going to hiss, steam, and fight you. That’s not a failure; that’s just chemistry. Don’t panic and pull the pan away; stay steady and keep whisking. The heat of the sugar needs that cream to stabilize, or you’ll end up with a lumpy mess that’s more grit than gold.
- Use heavy cream, not the thin stuff. If you try to use half-and-half or a milk-based substitute to save a few pennies, you’re going to lose the silky mouthfeel that makes salted caramel worth the effort. You need the fat content to emulsify with the sugar. High fat means a smoother sauce that won’t break the moment it hits a cold dessert.
- Salt is the soul, not a seasoning. I don’t care if you use fine sea salt or Maldon flakes; the point is to cut through that heavy, cloying sweetness. Add your salt at the very end, once the sauce has smoothed out. If you add it too early while the sugar is still aggressively hot, you might find it doesn’t distribute quite the way you want.
- Patience with the cooling process. I see people try to use their caramel while it’s still steaming hot, and they wonder why it looks too thin. Caramel thickens as it cools. If you want to know the true consistency, take a small spoonful, let it sit on a cool plate for a minute, and see how it moves. If it’s still too runny, give it time—don’t go reaching for more sugar.
Three Truths to Carry to Your Stove
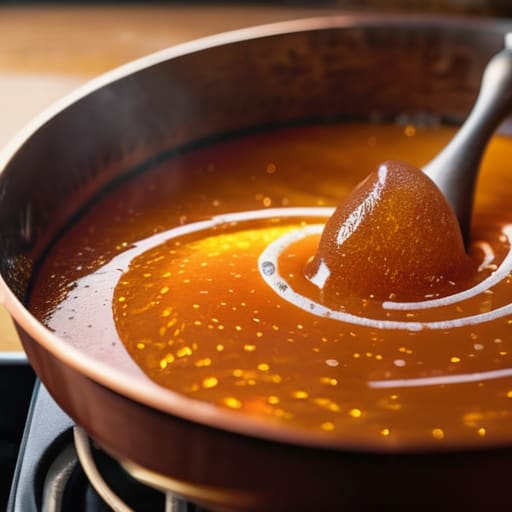
Temperature is a living thing; don’t just follow a timer, watch the color shift from pale sand to deep amber and trust your nose more than the clock.
Crystallization is usually just a lack of focus; keep your workspace clean and your stirring disciplined to ensure the sugar melts into silk rather than grit.
Salt and cream are your stabilizers; adding them at the right moment isn’t just about flavor, it’s about tempering the heat to keep the sauce from seizing.
The Final Pour
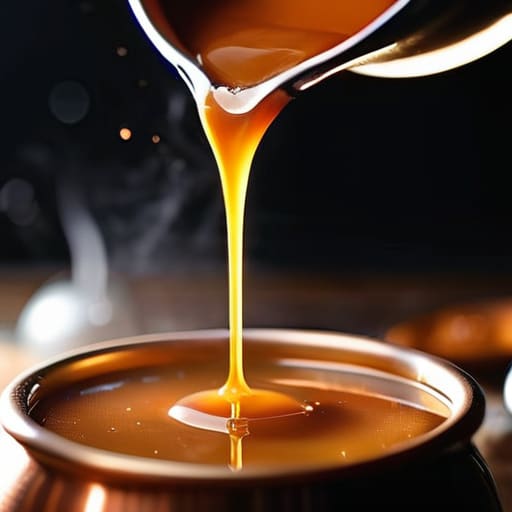
If you’ve followed the heat and kept your eyes on the color, you now know that caramel is less about a list of ingredients and more about mastering the transition. It isn’t enough to just toss sugar into a pan; you have to respect the way it changes from a granular solid to a liquid gold. Remember that the salt isn’t just a garnish, but a necessary counterweight to the sweetness, and that the temperature of your cream can make or break the emulsion. If your sauce looks a bit thin at first, don’t panic and don’t reach for more sugar—just give it the time to settle and thicken as it cools. It is all about controlling the chaos of the boiling sugar with a steady hand and a watchful eye.
At the end of the day, a little bit of scorched sugar or a few stray crystals isn’t a disaster; it’s just a lesson you’ll remember the next time you stand at the stove. Baking, even the sugary, sticky kind, is a conversation between you and the heat, and sometimes the heat wins a round or two. Don’t be afraid to get your hands a little messy or to start over if the color goes too dark. The most important thing is to trust your senses over any timer or clock. Once you learn to smell when the caramel is perfect, you won’t need a recipe card ever again.
Frequently Asked Questions
My caramel turned into a hard, sandy lump as soon as I added the cream—did I do something wrong with the temperature?
Oh, you’ve had a bit of a shock, haven’t you? Don’t fret; it happens to the best of us. You didn’t necessarily miss the temperature, but you likely missed the thermal shock. When that molten sugar meets cold cream, the temperature drops too violently, causing the sugar to seize and crystallize instantly. Next time, warm your cream until it’s steaming before you pour it in. It’s about managing the shock, not just the heat.
Can I use a different kind of salt, or will a fancy sea salt change the way the sugar behaves in the pan?
The salt won’t change how the sugar melts—that’s all heat and timing—but it will change how the sauce feels on your tongue. Fancy sea salts or Maldon flakes add a lovely, crunchier texture and a bright pop of flavor that plain table salt just can’t match. Use the expensive stuff at the very end, once the caramel is off the heat, so you don’t lose those beautiful crystals to the boiling sugar.
The sauce looks much thinner than it does in the pictures; how do I know when it has actually reached the right consistency without overcooking it?
Don’t let those glossy photos fool you; they’re usually lying about the temperature. Caramel thickens significantly as it cools, so if it looks like a runny syrup while it’s still hot, you haven’t failed. It should coat the back of a spoon heavily. If you’re worried, pull it off the heat when it reaches a deep amber and feels slightly more viscous than you think it needs to be. It’ll find its way.