I remember a Tuesday morning back in ’94, around four in the morning when the flour dust was still settling in the air, and I watched a young apprentice try to cream butter that was still half-solid from the larder. She was following a recipe to the letter, but her batter looked like wet sand instead of the silk I expected. She thought she’d missed a measurement, but she hadn’t; she just didn’t understand how butter temperature affects a cake. You can have the finest Madagascar vanilla and the most expensive organic flour in the world, but if you are fighting the fat instead of working with it, you are simply wasting your time and your ingredients.
I’m not here to sell you on fancy gadgets or complicated thermometers that promise perfection. I want to teach you how to feel the resistance under your spatula and how to recognize that perfect, yielding softness that tells you the emulsion is actually forming. I’m going to show you exactly why your sponge is either too dense or collapsing into a greasy mess, and I’ll give you the truth about temperature without any of the kitchen-counter fluff.
The Softened Butter Texture Guide for Patient Hands
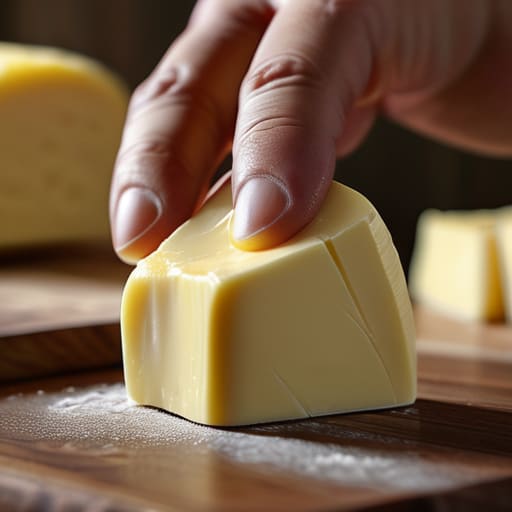
You don’t need a thermometer to tell you when your butter is ready; you need your thumb. If you’re pressing into a block and it feels like a cold stone, put the mixer away. If it feels like liquid, you’ve gone too far and you’re about to end up with a greasy mess. You are looking for that precise window where the butter is yielding but still holds its shape—what I call the “dent” stage. When you press your finger in, it should leave a shallow, soft crater without the butter feeling oily or sliding off your finger.
This specific state is the engine behind aeration during creaming method. When you beat that soft fat with sugar, the crystals are physically carving tiny pockets of air into the fat. If the butter is too hard, those pockets never form; if it’s melted, the air simply escapes. Getting this right is the secret to preventing broken batter later on. When you finally add your eggs, a properly creamed base will look pale and fluffy, acting as a stable foundation that holds everything together instead of splitting into a curdled, weeping disaster.
Aeration During Creaming Method the Art of Trapping Air
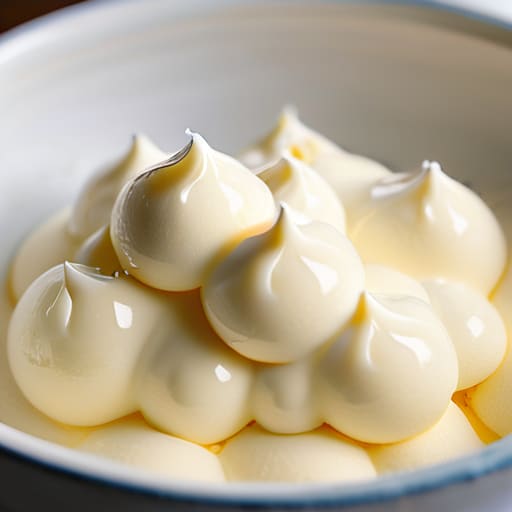
When you’re creaming your butter and sugar, you aren’t just mixing ingredients; you are building a scaffold. This is the heart of aeration during creaming method, where those tiny crystals of sugar act like little shovels, carving microscopic pockets of air into the fat. If your butter is too cold, it’s like trying to shovel snow with a brick—it won’t budge, and those air pockets never form. If it’s too warm, the sugar just sinks into a greasy pool, and you’ve lost your chance to lift the cake. You want that butter to be pliable enough to yield, creating a pale, fluffy mass that looks less like fat and more like a cloud.
If you rush this or use butter that’s too soft, you’ll find yourself struggling with preventing broken batter once the eggs arrive. A stable emulsion relies on those air pockets holding onto the liquid. If the fat has already begun to weep or lose its structure, the batter will split, looking curdled and sad. Don’t panic if it looks a bit grainy; just keep going until it’s smooth, but remember: you cannot fix a lack of air once the flour is in the bowl.
Five Ways Your Butter is Sabotaging Your Sponge
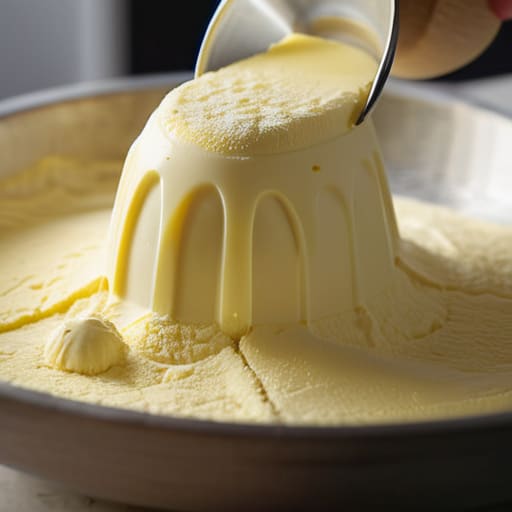
- Stop fighting the fridge. If you’re trying to cream butter that’s still hard enough to chip a tooth, you aren’t incorporating air; you’re just bruising the fat. You want that butter to yield to a gentle thumb press—soft, but holding its shape like a secret. If it’s a puddle, you’ve gone too far.
- Watch the temperature of your eggs like a hawk. I’ve seen a perfectly creamed butter and sugar mixture split into a sad, curdled mess just because someone threw in cold eggs straight from the dairy. If your butter is at 18°C and your eggs are at 4°C, they’re going to fight, and the cake will pay the price in density.
- The “Melted Trap.” I see people online doing this all the time, thinking melted butter is a shortcut to moisture. It isn’t. Melted butter can’t hold the tiny air bubbles you worked so hard to whip in during the creaming stage. You’ll end up with a heavy, greasy crumb that sits in your stomach like a stone.
- Don’t trust the “room temperature” label on your counter. In my old bakery, the winter air would turn a “room temperature” kitchen into a refrigerator. Always check the actual feel of the fat; if it feels greasy or oily on your skin, it’s too warm and it’s lost its ability to hold structure.
- The Salt Factor. If you’re using salted butter, remember that the salt content can slightly affect how the fat behaves during the emulsion. If you’re working with a high-fat, European-style butter (around 82% fat), it’s more stable, but it also demands even more respect for temperature than the cheap, watery stuff.
Three Things to Remember When You Reach for the Butter
Stop looking at the clock and start using your thumb; if your butter feels like a cold block of wax, it won’t hold air, but if it feels like oily grease, it will collapse your structure before the cake even hits the oven.
Remember that temperature is a living thing in your kitchen, so if you’ve been working with a heavy hand, your butter might warm up faster than the recipe expects—watch for that transition from soft to melting.
Never, under any circumstances, try to cheat the process by microwaving a lump of fat to “speed things up”; you aren’t just warming it, you’re destroying the very air pockets you worked so hard to cream into the sugar.
Listen to Your Dough, Not the Clock
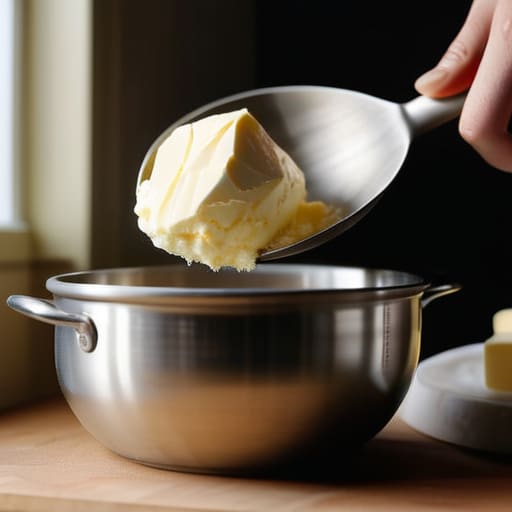
At the end of the day, remember that your butter is more than just a fat; it is the scaffolding of your entire cake. If you rush it by melting it in a microwave, you lose the ability to trap air, and you’ll end up with a heavy, greasy crumb that sits in the stomach like a stone. If you fight it by using butter straight from the fridge, you’ll never achieve that velvety, aerated structure that separates a professional sponge from a dense puck. It all comes down to that middle ground—the temperature where the fat is pliable enough to yield to your spatula but firm enough to hold its shape. Trust your hands over your timer, because a recipe might tell you ten minutes, but your eyes and your touch will tell you when the creamed mixture is truly ready.
Baking isn’t about following a set of rigid instructions to the letter; it is about understanding the relationship between the ingredients you hold in your hands. Don’t let a failed bake discourage you or make you think you’ve lost your touch. Most of the time, you haven’t failed the recipe—you’ve simply had a disagreement with the temperature of your kitchen or the state of your fats. Be patient with the process, and more importantly, be patient with yourself. Once you stop fighting the ingredients and start learning to feel their resistance, you’ll realize that the best things in life, much like a good cake, simply cannot be rushed.
Frequently Asked Questions
If I’ve already accidentally melted my butter while trying to soften it, can I still save the batter or is the structure lost?
Don’t panic, but don’t try to force it. If your butter has turned to liquid, you’ve lost the ability to trap air during creaming, so you won’t get that lift. You can still save the batter, but treat it like a different recipe. Whisk your eggs and sugar first, then stream in the melted butter slowly. It’ll be more like a dense, moist pound cake than a fluffy sponge, but it will still taste lovely.
How can I tell if I’ve over-creamed the butter and sugar to the point where the air bubbles are too large and will collapse in the oven?
You’ll see it in the bowl before it ever hits the oven. If your mixture looks greasy or shiny rather than pale and fluffy, you’ve pushed it too far. You’ve essentially melted the air pockets you worked so hard to trap. Instead of a cloud-like cream, you’re left with a heavy, oily sludge. If it looks like it’s weeping moisture, stop. You’re no longer aerating; you’re just emulsifying fat.
Does the temperature of my eggs matter as much as the butter when I'm trying to keep that emulsion from breaking?
Oh, it matters immensely. If you take cold eggs from the fridge and drop them into that lovely, creamed butter, you’re essentially shocking the fat. The butter will seize, the emulsion will split, and you’ll end up with a curdled, grainy mess instead of a smooth batter. Your eggs need to be at room temperature—about 21°C—so they marry into the fat seamlessly. Don’t rush it; add them one by one, waiting for each to disappear.