I spent thirty-four years standing before a wood-fired oven that didn’t care a lick about my feelings, and if there is one thing those early morning shifts taught me, it is that you cannot bake by staring at a screen. I see so many people nowadays scrolling through perfectly lit, staged videos, trying to memorize exactly how bulk fermentation should look based on a glossy photograph. Let me tell you something: a photo is a lie. A photo can’t tell you if the dough is holding its gas or if it’s just sitting there like a heavy, lifeless slab of clay because your kitchen is ten degrees too cold.
I’m not here to give you a checklist of visual milestones that change every time the humidity shifts. Instead, I want to teach you how to actually read your dough. I’m going to show you how to use your hands and your senses to know when the fermentation is truly ready, moving past the guesswork and into real understanding. We aren’t looking for a specific shape; we are looking for vitality and lightness, and I promise to help you find it.
Reading Yeast Activity Indicators Through the Skin
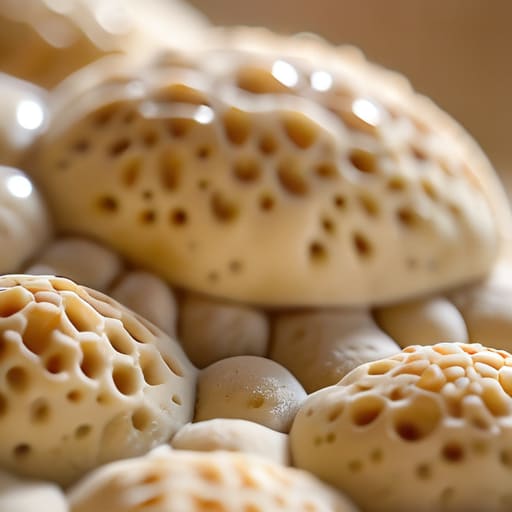
Stop looking for a specific height on a ruler; the dough doesn’t care about your measurements. Instead, I want you to look at the surface. When the yeast begins to wake up, the skin of the dough won’t be tight and shiny like a drum anymore. It starts to look slightly matte, almost as if it’s stretching thin over something moving underneath. You’re looking for those subtle yeast activity indicators—tiny, microscopic dimples that suggest the gases are starting to push back against the gluten. If the surface looks taut and angry, it’s still sleeping; if it looks relaxed and slightly translucent, it’s starting to breathe.
As the fermentation progresses, you’ll notice the dough changing from a heavy, cohesive mass into something more alive. You should see signs of dough aeration and bubbles not just on the surface, but through the sides of your vessel if you use glass. It shouldn’t look like a sponge full of holes, but rather like a soft, aerated cloud. If you see large, irregular pockets of air, you might be moving too fast, but if the dough feels heavy and dense despite the time passed, your kitchen is likely too cold.
Dough Aeration and Bubbles Beyond the Surface
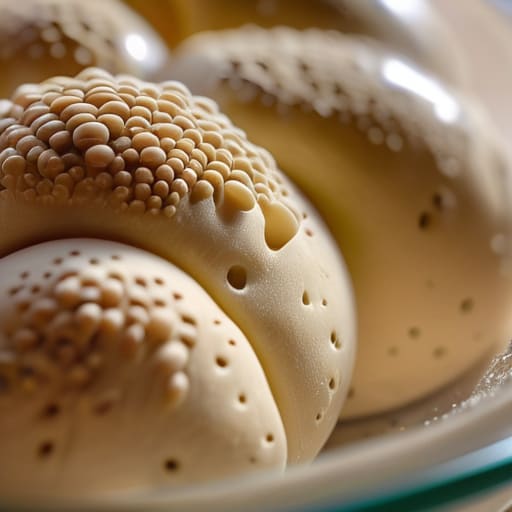
Now, don’t just stare at the top of the dough like it’s a photograph in a magazine. If you want to know what’s actually happening, you have to look deeper. When you’re checking for dough aeration and bubbles, you aren’t just looking for a few surface pops; you’re looking for the structural integrity of the gas being trapped inside. Gently press your finger into the mass—not a poke, just a soft suggestion of a touch. You want to feel a certain springy resistance. If the dough feels like a dense, heavy sponge that refuses to give, your yeast activity indicators are telling you it’s still waking up. But if it feels airy and slightly pressurized, like a balloon filled with air rather than water, you’re getting close.
Keep a sharp eye on the temperature impact on fermentation, too. In a cold kitchen, those bubbles might be small and tight, hidden deep in the gluten network. In a warm room, they’ll be large and aggressive. If you see huge, irregular voids that make the dough feel like it’s about to collapse under its own weight, you’re likely identifying overproofed dough before it even hits the oven. You want a structure that feels lively and buoyant, not fragile.
Five Things Your Eyes (and Fingers) Should Be Looking For
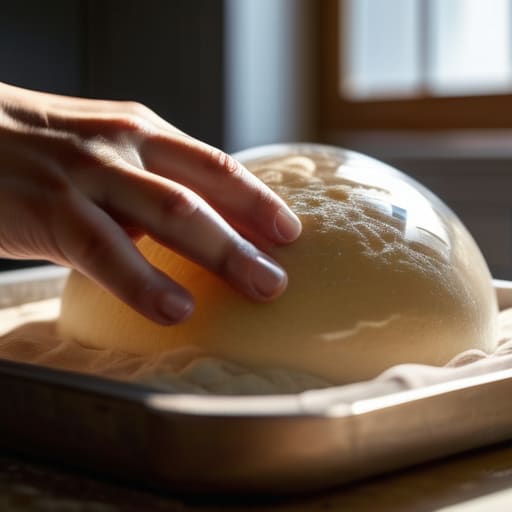
- Watch for the “Jiggle.” When you nudge the bowl or give the container a gentle shake, the dough shouldn’t move like a heavy, dead weight. It should wobble slightly, like a bowl of set custard, showing you that the internal structure has captured enough gas to become light and aerated.
- Look for the Dome, Not the Rise. Don’t just stare at the markings on your container; look at the surface of the dough itself. A dough that is ready to be shaped will often have a slightly rounded, domed top rather than a flat, slumped surface. If it looks like it’s trying to push back against the air, you’re on the right track.
- The Side-of-the-Bowl Test. If you’re using a clear straight-sided container, look for those tiny, frantic bubbles clinging to the plastic. They aren’t just decoration; they are the proof that the yeast is working hard. If the sides look clean and the dough looks dense, it’s still sleeping.
- Check the Tension. As fermentation progresses, the dough should look less like a sticky mess and more like a cohesive, elastic entity. It should hold its shape somewhat rather than spreading out into a puddle. If it looks “relaxed” to the point of being liquid, you’ve likely pushed it too far.
- The Poke Test (The Truth in the Finger). Before you commit to shaping, press a floured finger about half an inch into the dough. If it springs back quickly, it needs more time. If it stays exactly where you poked it, it’s over-proofed. You’re looking for that slow, lazy spring-back that tells you the gluten is stretched but still has the strength to hold on.
The Baker’s Three Truths
Forget the stopwatch; fermentation is a living process that responds to the temperature of your kitchen, not the numbers on a timer.
Stop looking for a specific “doubled in size” milestone and start looking for the lightness and the way the dough yields to a gentle poke.
If your dough feels heavy, tight, or stubborn, it isn’t ready—wait until it feels like it’s breathing and holds the air you’ve worked so hard to build.
Trust the Dough, Not the Clock
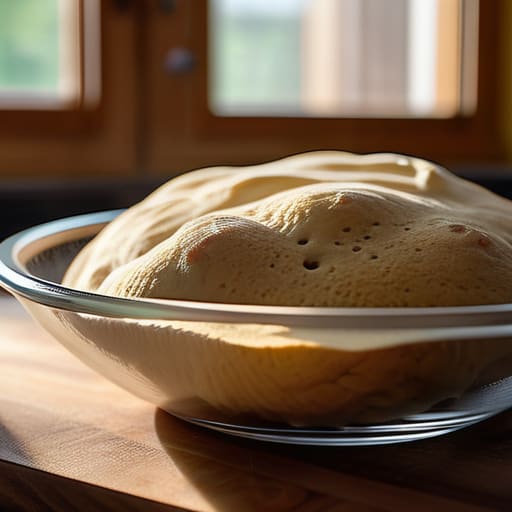
At the end of the day, looking for those tiny bubbles under the skin or feeling that airy, pillowy lightness isn’t about following a checklist; it’s about learning the language of your ingredients. You’ve looked for the aeration, you’ve checked the surface for life, and you’ve felt for that characteristic wobble. If your kitchen was a bit drafty today and the dough looks a little slumped, don’t panic and don’t force it. Just remember that bulk fermentation is a living process, not a countdown. If it hasn’t reached that perfect, jiggly state where it feels like it’s breathing, it simply isn’t ready, regardless of what the timer on your phone says.
I spent thirty-four years watching dough rise in the dim light of a four a.m. kitchen, and I can tell you that the most important tool you own isn’t a digital scale or a high-end mixer—it is your own intuition. There will be days when the dough behaves perfectly and days when it feels like a stubborn, heavy brick, but every single “failure” is just a lesson in how temperature and time dance together. So, put down the camera, stop worrying about how the crumb will look in a photograph, and just listen to what the dough is telling you. That is where the real baking begins.
Frequently Asked Questions
My dough has doubled in size but still feels heavy and dense; did I miss the window?
If it’s doubled but feels like a lead weight, you haven’t missed the window—you’ve likely just missed the strength. You’ve got gas, but you don’t have the structure to hold it. It’s like trying to blow air into a wet rag instead of a balloon. Check your water temperature or how much you worked the dough; if the gluten didn’t develop properly, those bubbles will just collapse under their own weight.
How can I tell the difference between a dough that is properly aerated and one that has simply over-proofed and lost its structure?
You have to stop looking and start poking. A properly aerated dough will feel like a soft, springy pillow; when you press your finger in, it should push back gently, reclaiming its shape. If you press it and the indentation stays there like a scar, or if the dough feels like a wet, heavy sponge that collapses under its own weight, you’ve gone too far. It’s lost its tension and its fight.
If my kitchen is particularly cold, should I be looking for more bubbles on the surface or more volume in the bowl to know it's ready?
If your kitchen is cold, forget looking for bubbles on the surface; that’s just gas trying to escape a cramped space. You need to look for volume and, more importantly, the way the dough sits in the bowl. In a chilly room, fermentation slows down, and the dough can become dense and stubborn. Don’t wait for a sea of bubbles; wait until the dough looks pillowy and feels light, as if it’s finally found its breath.