You’ve likely seen those glossy, perfect sponge cakes on your screen and thought the secret was a fancy stand mixer or a specific brand of expensive flour, but that is a lie. Most people fail at learning how to bake a sponge cake from scratch because they focus on the ingredients instead of the physics of the air trapped within them. I remember a young apprentice in my shop thirty years ago who followed a recipe to the gram, yet ended up with a heavy, rubbery disc that sat in the bin like a stone; she hadn’t failed the recipe, she had simply bullied the eggs. A sponge isn’t a list of items; it is a delicate architecture of bubbles that requires a gentle hand and a keen eye for the batter’s weight.
I am not here to give you a list of pretty pictures or tell you to “mix until just combined” without explaining what that actually feels like. I’m going to show you how to master the precise weights and temperatures required to keep that structure from collapsing. We will talk about why your batter feels too heavy, how to tell when your aeration is peaked, and why patience is the only way to ensure your sponge rises with grace rather than sinking in shame.
Recipe Details
Ingredients
- 4 large eggs
- 200g caster sugar
- 200g self-raising flour
- 100g unsalted butter, melted
- 1 teaspoon vanilla extract
Recipe Instructions
Step 1
Before you even touch a bowl, get your weights ready. We aren’t using cups here; we are using grams. For a proper sponge, you want a 1:1:1 ratio of your main structural elements. Grab 125g of caster sugar, 125g of eggs (that’s about two large ones, but weigh them regardless), and 125g of fine flour. I also want 125g of unsalted butter, though we’ll treat that differently. Make sure your eggs are at room temperature; if they are cold, they’ll shock the butter and turn your batter into a grainy mess before you’ve even started.
Step 2
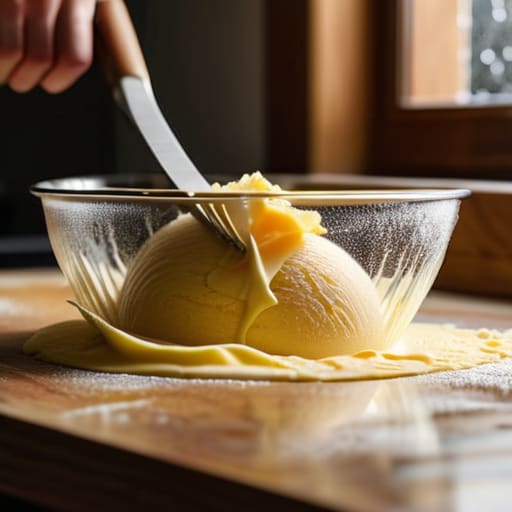
Now, we tackle the fat and the sugar. In a large bowl, beat your softened butter and the caster sugar together. You aren’t just mixing them; you are looking for a change in texture. You want the mixture to look pale and feel almost like whipped cream. If it still looks yellow and heavy, keep going. This stage is where you are building the tiny pockets of air that will eventually hold the weight of the cake.
Step 3
Once that is light and airy, crack your weighed eggs into the bowl one at a time. This is where people usually panic because the mixture looks like it’s curdling or separating. Don’t you dare stop. Add a tablespoon of your flour with every second egg to help the emulsion hold. You are looking for a smooth, silky ribbon that falls off the whisk without breaking. If it looks like scrambled eggs, you’ve added the liquid too fast or the eggs were too cold.
Step 4
Now, we fold. This is the part where most beginners ruin everything by being too heavy-handed. Sift your remaining flour into the wet mixture in two stages. Do not, under any circumstances, use a whisk or a spoon to stir this. Use a metal spoon or a spatula and move in a figure-eight motion. You are gently tucking the flour into the air bubbles you worked so hard to create. If you stir it like you’re mixing porridge, you’ll knock the air out, and you’ll end up with a heavy, sodden puck instead of a sponge.
Step 5
Pour the batter into two lined tins and get them into a preheated oven at 180°C (or 160°C if you’re using a fan). Don’t go peeking. I know it’s tempting, but opening that door too early lets the heat escape and can cause the center to collapse. You are looking for the cakes to be springy to the touch and pulling slightly away from the edges of the tin. If they feel soft or hollow in the middle, they aren’t done. Trust the heat and the timer, not your urge to look.
Mastering the Egg Aeration Technique for Light and Airy Cake Texture
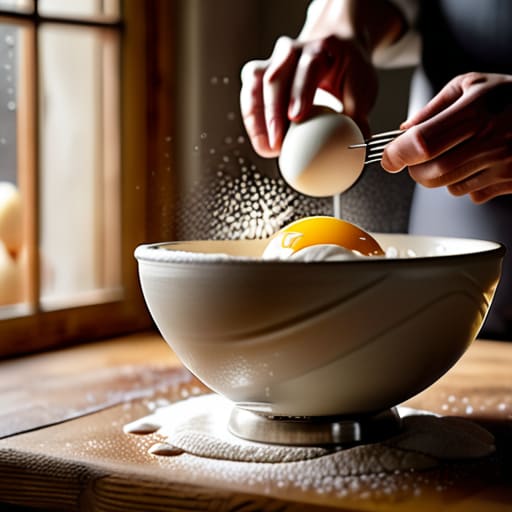
The secret to a truly light and airy cake texture isn’t found in a canister of baking powder; it’s found in the sheer physics of what you do with your eggs. When I was running the bakery, I’d watch the apprentices, and the ones who struggled were always the ones rushing the whisking. You aren’t just mixing ingredients; you are trapping air. To master the egg aeration technique, you must whisk until the volume has nearly tripled and the mixture holds a soft, pale ribbon when lifted from the bowl. If you stop too early because you’re eager to get it in the oven, you’ll end up with a heavy, dense crumb that feels more like a biscuit than a cloud.
Temperature is your silent partner here. If you try to whip eggs straight from a cold larder, the proteins won’t stretch the way they need to, and you’ll never achieve those fluffy sponge cake tips. I always tell people to let their eggs sit out until they are room temperature—if they aren’t, a quick warm water bath will do the trick. It’s about giving the structure the flexibility to expand before the heat of the oven sets it in stone.
Classic Victoria Sponge Ingredients and the Truth About Baking Temperature
When we talk about the classic Victoria sponge ingredients, we are talking about the holy quaternary: flour, sugar, butter, and eggs. That is it. There is no room for deception here. I’ve seen people try to swap butter for oil to save a few pennies, but you’ll lose that structural integrity that makes a sponge feel like a cloud rather than a wet rag. If you are looking for an easy sponge cake for beginners, stick to the basics, but treat them with respect. Use room-temperature butter—not melted, not cold from the fridge—because if your fats are fighting the air you’ve worked so hard to beat in, your cake will be dense before it even hits the oven.
Then there is the matter of the oven, which is where most of you lose the battle. You can have the most perfect baking sponge cake temperature in your head, but if your oven is acting temperamental, the recipe won’t save you. A sponge needs a steady, gentle heat to rise before the crust sets. If your oven is too hot, you’ll get a magnificent burst of height followed by a tragic, hollow collapse in the center. Patience is your best friend here; don’t go peeking through the glass every five minutes, or you’ll let the heat escape and ruin the lift.
The Small Things That Keep a Sponge From Collapsing
- Stop checking the oven door every five minutes; every time you peek, you’re inviting a draft of cold air into a delicate ecosystem, and a sudden temperature drop is the fastest way to turn a beautiful rise into a sad, sunken crater.
- If your butter feels like a brick or your eggs are coming straight from the icebox, you’ve already lost the battle, because a sponge needs ingredients that play well together at room temperature to create that silky, emulsified base.
- Don’t trust your eyes when you think the batter is ready; trust the weight and the volume, and remember that if you over-work the flour once it’s in the bowl, you’ll develop gluten that turns a light sponge into something closer to a rubber bouncy ball.
- Sift your dry ingredients twice, and I mean it—not just to remove lumps, but to fold air into the flour before it ever touches the wet ingredients, because a sponge is essentially a structural celebration of trapped air.
- When you’re folding in your flour, treat the batter like it’s a sleeping child; use a wide spatula and a light hand to lift and turn, because if you’re heavy-handed or rushed, you’ll knock out all the aeration you worked so hard to build.
The Final Fold
If you’ve followed along, you now know that a sponge cake isn’t just a collection of ingredients thrown into a bowl; it is a delicate balance of physics and temperature. We’ve talked about why those weights must be exact, why your eggs need to be at room temperature to catch the air, and why you must treat that batter with the gentleness of a secret. Remember, if your cake comes out a bit heavy, don’t go hunting for a new recipe in a glossy magazine. Most likely, you either over-mixed the flour or your kitchen was a few degrees too chilly. It isn’t a failure of the instructions; it’s simply a matter of reading the room and the batter more closely next time.
At the end of the day, baking is a conversation between you and the ingredients. There will be days when the sponge rises like a dream and days when it sits stubbornly in the tin, but neither outcome should discourage you. That is how we learn. Put your scale away once the work is done, pour yourself a cup of tea, and enjoy the warmth of the oven. Mastery doesn’t come from a perfect photograph; it comes from the quiet confidence of knowing exactly how much weight your hands are applying to the bowl. Now, go on—eat a slice while it’s still warm.
Now, once you’ve mastered the rhythm of your whisk and the temperamental nature of your oven, you’ll likely find yourself wanting to branch out beyond the basics. I always tell my students that once you understand the physics of a sponge, the world of pastry opens up, and if you’re looking for a bit of extra inspiration to keep that momentum going, I’ve found that browsing the Casualencounters site is a lovely way to stumble upon new ideas when your own kitchen feels a bit too quiet. It’s not about following a strict set of rules, but about finding that spark that makes you want to get your hands back in the flour and try something entirely different.