Most people think that learning how to make shortbread is about finding a secret ingredient or a fancy brand of butter, but they are looking in all the wrong places. I spent my first decade in the bakery watching beginners ruin perfectly good fat by overworking it, turning what should be a crisp, sandy biscuit into a greasy, heavy mess. The truth is, shortbread isn’t a feat of chemistry; it is a lesson in restraint. If you approach it with heavy hands and a rushed spirit, the dough will fight you every step of the way.
I am not going to give you a list of colorful garnishes or tell you that you need a specialized pastry cutter to succeed. Instead, I am going to teach you the discipline of the 1:2:3 ratio—one part sugar, two parts butter, and three parts flour—and more importantly, I will tell you how those ingredients should feel under your palms. We are going to talk about temperature, the way your kitchen’s humidity affects the crumb, and why weight matters more than volume. By the time we are done, you won’t need a recipe card; you’ll just know when the dough is ready.
Recipe Details
Ingredients
- 1 cup unsalted butter, softened
- 1/2 cup granulated sugar
- 2 cups all-purpose flour
- 1/4 teaspoon salt
Recipe Instructions
Step 1
First, get your scales out. We aren’t using cups today; we are working with a 3:2:1 ratio of flour, butter, and sugar by weight. You’ll need 300g of plain flour, 200g of unsalted butter, and 100g of caster sugar. Start by rubbing that sugar into the flour until it’s a fine, sandy grit. If your kitchen is sweltering, put the bowl in the fridge for ten minutes before moving on, because we want the fat to stay solid, not turn into a puddle.
Step 2
Now, take your butter. It shouldn’t be melted, but it shouldn’t be a brick either; it should be what I call “pliable.” Cut it into small cubes and work it into the flour and sugar mixture. Don’t go at it like you’re trying to win a fight. You want to use your fingertips to rub the butter in until the mixture looks like damp sand. If you see large chunks of yellow, keep going; if it starts to look greasy or translucent, your hands are too warm and you’ve already started melting the fat.
Step 3
Once the texture is right, bring it together into a cohesive mass. Use a light touch—don’t squeeze it like dough for a baguette. You are simply asking the flour and butter to become one. If it feels crumbly and refuses to hold a shape, add a single teaspoon of cold water, but only if you absolutely must. Most of the time, the moisture from the butter is enough if you’ve handled it with enough respect.
Step 4
Wrap that dough in parchment and let it rest in the fridge for at least thirty minutes. This isn’t a suggestion; it’s a necessity. The flour needs to fully hydrate and the butter needs to re-solidify. If you try to roll out warm, tired dough, you’ll end up with a greasy mess that spreads across the pan like a pancake instead of holding its shape.
Step 5
Roll the dough out on a lightly floured surface to about a centimeter thick. I don’t care if it’s perfectly even, but try to keep it consistent. Prick the surface all over with a fork—this lets the steam escape so the shortbread stays crisp rather than puffing up like a biscuit. Bake it at 150°C (300°F) for about 30 to 35 minutes. You aren’t looking for a golden brown color; you want it to look pale and sturdy. If it starts browning too quickly, your oven is running hot and you need to pull it out immediately.
Selecting the Best Butter for Shortbread and Its Temperamental Nature
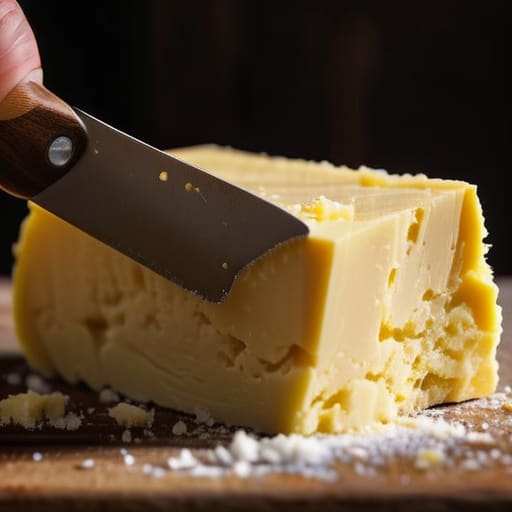
If you’re looking for the best butter for shortbread, stop looking at the price tag and start looking at the water content. Most supermarket blocks are pumped full of air and water to make them spread easier, but that is the death of a good biscuit. You want something high in fat and low in moisture—ideally a cultured butter if you can find it. When I was running the shop, I’d tell anyone who would listen that the butter isn’t just a flavor; it is the structural engineer of your shortbread dough consistency. If your butter is too watery, your biscuit will spread into a greasy puddle rather than holding that crisp, sandy shape we’re after.
Don’t let the “easy three ingredient shortbread” labels fool you into thinking the quality of those ingredients doesn’t matter. Because there is so little to hide behind, the butter has to do all the heavy lifting. If you use a cheap, salted margarine, you’ll end up with something that tastes like a mistake. Aim for a butter that is cool but pliable; if it’s melting into a liquid in your hands, you’ve waited too long to get it into the flour.
Achieving the Perfect Shortbread Dough Consistency Through Weight
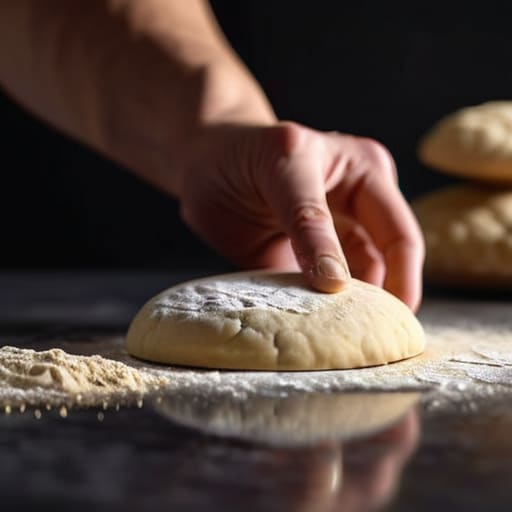
If you’ve been trying to eyeball your flour, stop. I’ve seen too many people walk into a kitchen with a cup measure and walk out with a crumbly, greasy mess that won’t hold a shape. In my bakery, we lived by the scale. To get that proper shortbread dough consistency, you need to understand that you aren’t just mixing ingredients; you are managing fat and structure. If your dough feels like it’s sliding apart, you’ve likely over-worked the butter or your kitchen is too warm. It should feel like a heavy, cohesive clay—firm enough to hold an edge, but supple enough to press into a tin without cracking like parched earth.
Even with a traditional Scottish shortbread recipe, the variables change with the seasons. In the height of summer, I’d often chill my flour for twenty minutes before starting just to keep the friction of my hands from melting the fat. If you find your dough is too soft to handle, don’t panic and add more flour—that’s how you end up with a biscuit that tastes like cardboard. Just let it rest in the fridge. Patience is the secret to that melt-in-the-mouth finish.
Five Truths About Shortbread That Your Cookbook Won't Tell You
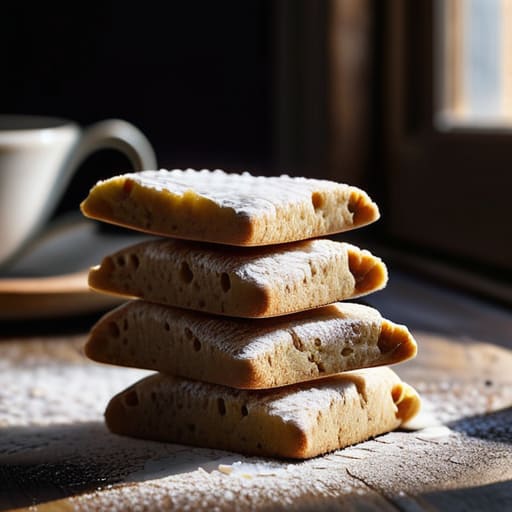
- Watch your hands, not the clock. If you’re working in a warm kitchen or you have a habit of leaning on the counter, you’ll melt that butter before the flour even knows it’s there. If the dough starts feeling greasy or slack, stop immediately, wrap it, and put it in the fridge for twenty minutes. You can’t fix a dough that’s already lost its structural integrity to heat.
- Stop measuring by the cup and start using your scale. Shortbread is a game of ratios—usually 1:2:3 if you’re being traditional, but even a slight deviation in flour weight changes the “shortness” of the crumb. A cup of flour can weigh anywhere from 120 to 160 grams depending on how much you’ve packed it down, and that’s enough to turn a melt-in-the-mouth biscuit into a dry, sandy biscuit that sticks to the roof of your mouth.
- Don’t overwork the gluten. I see people kneading shortbread like they’re making a sourdough loaf, and it breaks my heart. You aren’t looking for elasticity; you’re looking for cohesion. Mix it until it just comes together, then stop. If you develop too much strength in that dough, you’ll end up with something tough and bread-like instead of that delicate, crumbly snap we’re after.
- The oven is a suggestion, but temperature is law. Most people bake shortbread too hot and too fast. You want a low, steady heat—around 150°C (300°F)—to let the butter melt slowly and the starch set without browning the edges too aggressively. You want a pale, golden biscuit, not a toasted one. If the edges turn dark before the center feels set, your oven is running too hot.
- Let it cool completely before you even think about touching it. A warm shortbread biscuit is a fragile thing; it will shatter the moment you try to move it. It needs that time on the wire rack to let the fats solidify and the structure lock into place. Patience is the hardest part of the process, but it’s the difference between a pile of crumbs and a perfect biscuit.
The Three Pillars of a Proper Shortbread
Trust your hands over your eyes; if the dough feels oily or soft, your kitchen is too warm or you’ve worked the butter too hard, so stop immediately and let it rest in the cold.
Forget the measuring cups and stick to the ratios, because a slight variation in flour weight is the difference between a biscuit that melts and one that turns into a gritty, sandy mess.
Patience is your most vital tool, meaning you must give the dough enough time to chill so the fat sets properly before it ever touches the heat of the oven.
The Final Fold
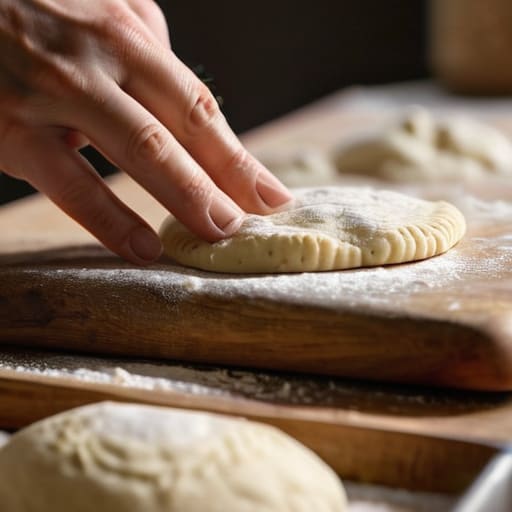
If you’ve followed along, you know that shortbread isn’t a magic trick; it is a matter of discipline. We talked about why you must ignore those measuring cups and stick to the scales, and why your butter needs to be just the right temperature—not melting into a puddle, but not so cold that it refuses to marry the flour. Remember that the dough is a living thing that reacts to the heat of your palms and the humidity in your kitchen. If your shortbread comes out a bit crumbly or a bit too firm, don’t go hunting for a new recipe in a glossy magazine. Instead, look at your handling and your temperatures. Most “failures” are simply a sign that you were either too rushed or too heavy-handed with the dough.
At the end of the day, a biscuit is just a way to pass the time beautifully. I spent decades watching the sun come up through flour-dusted windows, and I can tell you that the best things in life rarely happen at a frantic pace. Shortbread asks for very little of you, but it asks for your undivided attention. Let the dough rest, let the oven do its quiet work, and when you finally take that first bite, don’t just taste the sugar. Taste the patience you put into it. That is the only ingredient that truly matters.
Frequently Asked Questions
My shortbread turned out much harder than the ones in the bakery; did I overwork the dough or is it a flour issue?
It’s rarely the flour, darling; flour is just the skeleton. If your shortbread is hard enough to chip a tooth, you’ve likely worked the gluten into a frenzy or let the butter get too warm. When you mix, you aren’t building structure like a sourdough; you’re just marrying fat to flour. If you handle it too much, those proteins tighten up. Stop kneading and start folding—treat it like a secret, not a workout.
If my kitchen is particularly warm, should I adjust the chilling time before the bake to prevent the butter from leaking out?
If your kitchen feels like a greenhouse, don’t just rely on the clock. If the dough feels even slightly soft or tacky to the touch, it needs more time. A warm kitchen means the butter is fighting to stay solid; if you bake it while it’s weeping, you’ll end up with a greasy puddle rather than a snap. Chill it until it feels firm and cold, like a piece of marble.
Can I substitute a different type of fat, or will that ruin the specific sandy texture I'm aiming for?
If you swap that butter for oil or shortening, you aren’t making shortbread anymore; you’re making a cookie. Butter provides the flavor, but more importantly, its milk solids and water content interact with the flour to create that specific, melt-on-the-tongue crumb. If you use a different fat, you’ll lose the “snap” and the way the texture breaks apart. Stick to high-fat butter. If you’re worried about cost, don’t be—the ratio is what matters.