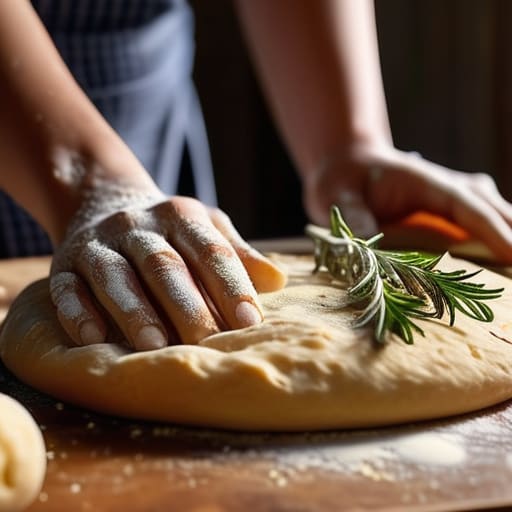
Most people think that learning how to make panna cotta is a matter of finding the perfect ratio of gelatin to cream, but they are looking at the wrong side of the equation. They treat it like a chemistry experiment where you just follow a list of instructions and hope for the best, but panna cotta isn’t a science project; it’s a lesson in temperature. I spent years watching young pastry students ruin perfectly good heavy cream because they boiled it too hard or, worse, they rushed the setting time in a frantic attempt to serve it. If you treat the cream with too much aggression or try to cheat the clock, you won’t end up with a silky dessert; you’ll end up with something that feels like rubber or, more likely, a sad, weeping puddle of sweetened milk.
I am not here to give you a flashy, filtered recipe that looks beautiful in a magazine but falls apart on the spoon. Instead, I want to show you the rhythm of the process. I’ll be talking about the exact heat you need to coax the flavors out without scorching the dairy, and why the chill is the one ingredient you simply cannot bargain with. We are going to focus on the feel and the timing, ensuring you understand the “why” behind the set, so you can stop following instructions and start actually baking.
Recipe Details
Ingredients
- 2 cups heavy cream
- 1/3 cup granulated sugar
- 1 teaspoon vanilla bean paste
- 2 ¼ teaspoons unflavored gelatin powder
- 3 tablespoons cold water
Recipe Instructions
Step 1
First, gather your components. I don’t care for those little measuring cups that promise “one cup of cream”—they are as unreliable as a broken thermometer. You’ll need 500g of heavy cream (at least 35% fat, please), 50g of caster sugar, and about 3g of gelatin powder. If you’re using vanilla, use a real pod, not that brown-colored extract that tastes like nothing but regret. Weigh everything out before you turn on the heat; once the stove is on, the clock starts ticking and you don’t want to be hunting for the sugar while the cream begins to scald.
Step 2
Bloom your gelatin. Take about 30g of cold water from your tap and sprinkle the gelatin powder over the surface of it in a small bowl. Don’t stir it like you’re trying to win a race; just let it sit. You want it to absorb the water until it looks like a thick, translucent sponge. If you try to force it into the hot cream before it has had its quiet moment to hydrate, you’ll end up with tiny, stubborn lumps that no amount of straining will ever save you from.
Step 3
Warm the cream and sugar. Pour your cream and sugar into a heavy-bottomed saucepan. Set the heat to medium-low. This is where people get impatient and turn the flame up too high, which is a cardinal sin. You aren’t trying to boil this; you are merely trying to awaken the sugar and melt it into the fat. Keep an eye on it. As soon as you see the first tiny bubbles dancing around the edge of the pan, pull it off the heat immediately. If it reaches a rolling boil, you’ve risked breaking the fat, and your panna cotta will look oily rather than silky.
Step 4
The marriage of cream and gelatin. Take that swollen sponge of gelatin and drop it into your warm cream. Use a whisk to stir it gently—not aggressively. You aren’t whipping cream for a cake; you are simply ensuring the gelatin disappears into the liquid. If you’ve done it right, the mixture should look uniform and slightly glossy. If you used a vanilla pod, scrape those seeds in now. If the mixture feels slightly too thick or if you see a stray grain of sugar, pass it through a fine-mesh sieve into a jug. It’s a small extra step that makes the difference between a home cook and a professional.
Step 5
The discipline of the chill. Pour the liquid into your ramekins or glasses. Now comes the hardest part for anyone used to the frantic pace of modern life: you must wait. Cover them loosely with cling film if you’re worried about fridge smells, and let them sit in the cold for at least six hours, though I personally prefer to leave them overnight. A panna cotta that hasn’t had enough time to set is just a very expensive, very thickened milk pudding. Don’t try to rush the refrigerator; the chemistry of the gelatin needs the stillness to create that perfect, trembling wobble we’re looking for.
The Weight of Purity in a Classic Italian Dessert Recipe
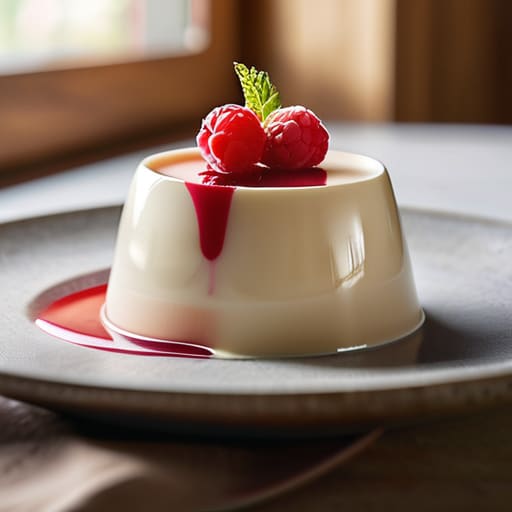
You’ll find that a truly classic Italian dessert recipe doesn’t need a pantry full of stabilizers to be successful; it just needs respect for the cream. I’ve seen too many people get nervous and reach for the thickeners, but if you want that signature wobble, you must understand the setting process. When people ask me how long to chill panna cotta, I tell them that time is an ingredient you can’t cheat. If you pull it out of the fridge too early because you’re hungry, you’ll find a lukewarm custard rather than a structured silk. Give it at least four to six hours, though I always prefer overnight.
If you are looking to experiment, don’t go swapping out your gelatin for agar agar unless you want a texture more akin to a firm jelly than a cream; gelatin provides a melt-in-the-mouth quality that plant-based alternatives simply haven’t mastered yet. For a bit of brightness to cut through the richness, a simple panna cotta fruit coulis made from seasonal berries is all you need. If you really want to treat yourself, use a real vanilla bean rather than extract. Those tiny black specks are the mark of a baker who isn’t afraid of a little extra work.
Mastering Panna Cotta Texture Tips Through Temperature Control
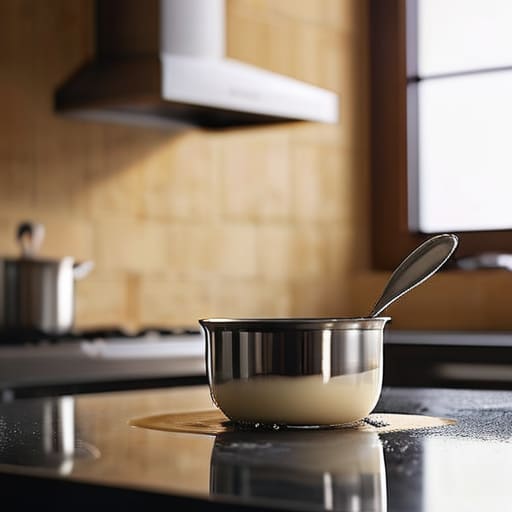
The biggest mistake people make is treating the stovetop like a race. If you boil your cream too hard, you’re not just heating it; you’re changing the very character of the fat, and you might lose that delicate, silky mouthfeel we’re after. When I’m making a vanilla bean panna cotta, I watch the liquid like a hawk. You want it just hot enough to coax the gelatin into a complete, seamless marriage with the cream. If you see grains or feel a slight resistance on your tongue, you rushed the heat or didn’t let it bloom properly.
Now, regarding the set: people always ask me how long to chill panna cotta before it’s “safe” to eat. My answer is always the same: as long as your patience allows. A quick hour in the fridge gives you a milky soup; a full six hours gives you a dessert. If you’re experimenting with plant-based alternatives, remember that using agar agar vs gelatin changes the physics entirely. Agar sets firm and brittle, whereas gelatin offers that luxurious, trembling wobble that defines the classic. Don’t fight the physics; respect them.
Using Agar Agar vs Gelatin Choosing Your Structural Integrity
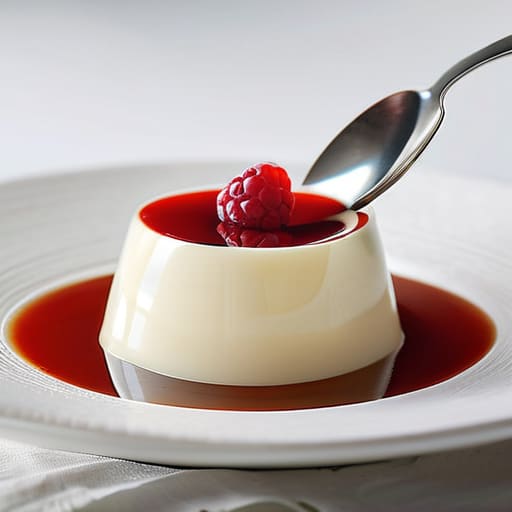
Now, we need to talk about what’s actually holding your cream together. In most kitchens, you’ll reach for gelatin—that’s the traditional way for a classic Italian dessert recipe. Gelatin is a protein derived from collagen, and it gives you that seductive, wobbling melt-on-the-tongue sensation that a machine simply cannot replicate. It’s temperamental, mind you; if you boil it too hard or let it sit in a warm room for too long, it loses its grip. But if you want that signature silkiness, gelatin is your best friend.
If you’re looking at using agar agar vs gelatin, you’re choosing between two entirely different worlds. Agar is plant-based and much more stubborn; it sets firmly and stays set even if the room gets a bit toastier. However, it lacks that creamy “give” and can sometimes feel a bit brittle, almost like a firm jelly rather than a custard. If you use agar, I suggest adding a touch more heavy cream to compensate for the different mouthfeel. Whether you choose the animal or the plant, remember that the goal isn’t a rubber ball—it’s a delicate, trembling grace.
The Quiet Patience of How Long to Chill Panna Cotta
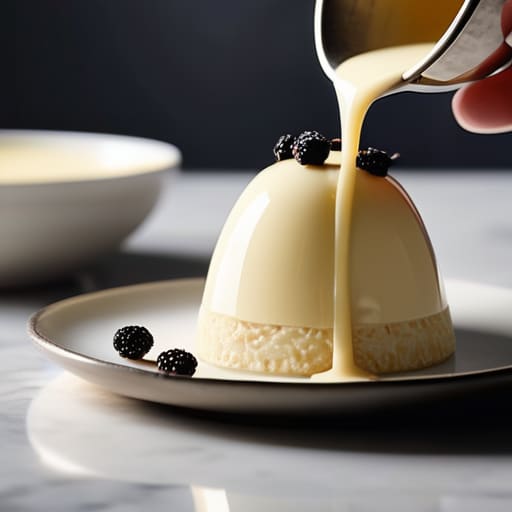
I’ve seen many a well-intentioned cook pull a mold from the fridge after a mere hour, only to find a wobbling, weeping mess that looks more like thickened milk than a proper dessert. If you are asking how long to chill panna cotta, the honest answer is that time is your most important ingredient. You need at least four to six hours, but if you can manage to let it sit overnight, you’ll find the structure has truly settled. It isn’t just about getting it cold; it’s about allowing the proteins to knit together so that the dessert holds its shape while still retaining that signature, delicate tremble when the spoon touches it.
When you are making a vanilla bean panna cotta, that extra time in the cold also allows the tiny black specks of the bean to infuse the cream more deeply. If you’re feeling impatient, don’t try to cheat the clock with a blast of cold air; just accept that patience is the only way to achieve a clean release from the mold. Once it has set properly, a bright, acidic panna cotta fruit coulis is the perfect way to cut through the richness, but even that won’t save a custard that was rushed through the chilling process.
Vanilla Bean Panna Cotta and the Art of the Fruit Coulis
If you’re going to bother with a vanilla bean, don’t you dare use the extract from a plastic bottle. A true vanilla bean panna cotta requires the real thing—the tiny, dark specks scattered through the cream are the only way to know you’ve done it right. I always tell my apprentices that the bean is a gift of patience; you must split it, scrape those precious seeds, and let them steep in the warm cream long enough to actually infuse the fat. If you rush the steeping, you’re just making expensive milk.
Once you have that silky base set, you need a panna cotta fruit coulis to cut through the richness. I prefer a raspberry or passionfruit reduction because the acidity acts like a bright light in a dark room, lifting the heavy cream. When you pour that vibrant sauce over the pale cream, you aren’t just decorating; you are balancing the palate. Whether you are using agar agar vs gelatin to achieve your set, the goal remains the same: a dessert that feels elegant on the tongue, not heavy like a mistake.
Five Things Your Recipe Won't Tell You About Panna Cotta
- Watch your heat like a hawk; if you let the cream reach a rolling boil, you aren’t making custard, you’re making scalded milk, and that cooked-egg flavor will haunt the entire dessert.
- Don’t trust a “pinch” of gelatin; if you aren’t weighing your setting agent to the gram, you’re playing a guessing game with whether you’ll end up with a lovely wobble or a bowl of sweet soup.
- Give the sugar time to disappear; stir it into the cream until it’s completely dissolved before you even think about adding your setting agent, otherwise, you’ll feel those tiny, annoying grains against your tongue.
- Temper your liquids; if you’re adding anything cold to your warm cream mixture, do it slowly, or you’ll shock the temperature and mess with how the gelatin decides to bloom and set.
- Resist the urge to unmold early; I know the sight of it is tempting, but a panna cotta that hasn’t fully settled in the cold is a structural disaster waiting to happen the moment it hits the plate.
The Three Truths of a Perfect Set
Respect the bloom; if you dump your gelatin into boiling liquid without letting it swell in cold water first, you’re asking for a grainy texture that no amount of vanilla can mask.
Stop checking the fridge every twenty minutes; a panna cotta needs the quiet, undisturbed cold of at least four hours to find its structure, otherwise you’re just eating sweetened cream.
Trust your senses over your timer, because if the mixture hasn’t reached a gentle, warm simmer before you add the stabilizer, the chemistry simply won’t hold.
The Final Set
At the end of the day, a perfect panna cotta isn’t about following a list of instructions like a grocery receipt; it’s about understanding the relationship between your ingredients and the environment. We’ve talked about why you must respect the precise temperature of your cream to ensure the gelatin blooms properly, the vital importance of using weights over those deceptive measuring cups, and why you simply cannot shortcut the chilling process. Whether you chose the clean, plant-based snap of agar-agar or the traditional, silky melt of gelatin, the goal remains the same: a dessert that holds its shape on the spoon but vanishes the moment it touches your tongue. If it feels too firm, you likely over-gelled; if it’s weeping, you rushed the cold.
Don’t let a wobble or a slightly thin set discourage you from reaching for the heavy cream again. In my thirty-four years of baking, I’ve learned that the most beautiful things often require a bit of quiet observation and the willingness to fail a few times before you get it right. Cooking is a conversation between your hands and the heat, and panna cotta is a lesson in listening. So, set your timer, trust your senses, and remember that the best flavors always come to those who aren’t afraid to wait.
Frequently Asked Questions
My panna cotta turned out rubbery and bounced like a ball—did I use too much gelatin or did I let it boil too long?
It’s almost certainly the gelatin, dear. If it’s bouncing like a ball, you’ve over-tightened the structure. You likely used too much powder, or perhaps you let the cream boil vigorously instead of just warming it until the gelatin dissolved. Boiling won’t ruin the set, but it can change the mouthfeel. Next time, stick to the weights—not scoops—and stop the heat the moment the crystals vanish. It should tremble, not spring back.
Can I substitute heavy cream with whole milk to make it lighter, or will the structure fall apart?
You can certainly swap some cream for milk, but don’t go overboard. If you use a 50/50 split, you’ll get a lovely, lighter wobble. If you try to make it mostly milk, you’re essentially making a thickened custard, and it will lack that luxurious, mouth-coating silkiness that defines a true panna cotta. Just remember: less fat means less stability. You might need a tiny bit more gelatin to keep it from weeping.
If I want to infuse the cream with something like Earl Grey or lavender, how do I do it without losing the creamy mouthfeel?
You must treat your infusion like a gentle conversation, not a shouting match. If you boil the tea or lavender directly in the cream, you’ll scald the fats and end up with a grainy, bitter mess that ruins the mouthfeel. Instead, steep your aromatics in the warm cream—just off the heat—and taste it every few minutes. Once the flavor is right, strain it immediately. Don’t let it sit too long, or the tannins will steal the creaminess right out from under you.