I spent thirty-four years watching people treat their kitchen equipment like it was made of fine china rather than tools meant to work, and nothing irritates me more than the idea that you need a specialized, expensive kit to learn how to season a baking stone. I’ve seen enough “gurus” online claiming you need a dozen different oils and a degree in chemistry just to prepare a piece of ceramic, and frankly, it’s nonsense. If you treat a stone like a delicate museum piece, you’ll never get that proper, even heat distribution that makes a crust sing; you just end up with a cold, useless slab and a lot of wasted money.
I’m not here to sell you a lifestyle or a complicated ritual. I’m going to tell you exactly how to prepare your surface using nothing more than a bit of heat and common sense, because a neglected stone is just as unforgiving as a rushed dough. We’re going to skip the fluff and get straight to the practical reality of building a surface that can actually handle the heat. By the time we’re done, you’ll understand that seasoning isn’t magic—it’s just about giving your stone the foundation it needs to do its job.
Finding the Right Oven Temperature for Seasoning
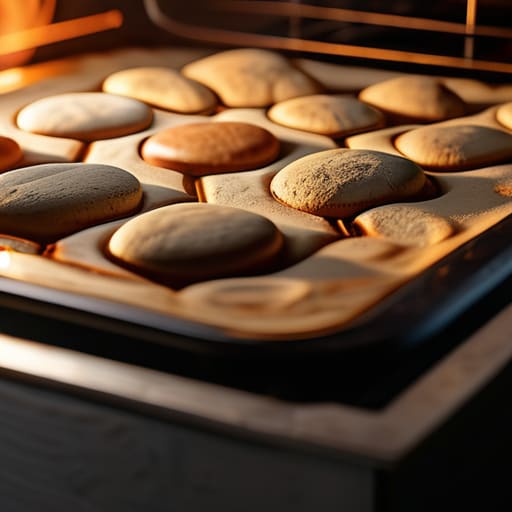
Now, don’t go cranking your oven to its highest setting the moment you slide that stone in. I’ve seen too many beginners think more heat equals more seasoning, but you aren’t trying to scorch the life out of it; you’re just trying to settle the pores. You want a steady, moderate oven temperature for seasoning, something around 350°F (175°C). If you jump straight to 500°F, you risk a thermal shock that’ll leave you with a mess of shards on your oven floor. I’ve spent enough years watching dough rise to know that sudden extremes are the enemy of stability.
Once the stone is in, let it sit there for about forty-five minutes. This slow climb is your best defense when it comes to preventing baking stone cracks later on. You’re essentially teaching the material to live in your kitchen’s climate. If you were seasoning a baking steel vs stone, the steel would take the heat much more aggressively, but a stone is a living, breathing thing that needs a gentle introduction. Be patient; let the heat soak in deep so that when you finally do bake, you have a reliable, even surface underneath your crust.
Creating a Non Stick Surface for Baking Stones
Now, once you’ve got that oven up to temperature, you need to decide how you’re going to treat the surface. If you’re working with a traditional ceramic, you’re looking to create a non-stick surface for baking stones by using a very thin, almost invisible layer of oil. I always tell my apprentices: if you can see the oil, you’ve used too much, and you’ll end up with a sticky, rancid mess that smells like a burnt fryer. Take a paper towel, dab a tiny bit of high-smoke-point oil—think grapeseed or even a light peanut oil—and wipe it across the stone until it looks like you’ve wiped it dry again. You aren’t painting it; you’re just persuading the pores to accept a bit of fat.
This is where people often get tripped up when comparing seasoning baking steel vs stone. A steel is much more forgiving of a heavier hand, but a stone is thirsty and temperamental. If you rush this or use a heavy hand, you’ll create uneven patches that cause uneven heat distribution. Do it slowly, let it bake in, and you’ll find that your crusts slide off the surface with nothing more than a gentle nudge from your peel.
Five Lessons from a Stone That’s Seen a Thousand Loaves
- Listen to the heat, not the clock. Every oven is a different beast, and a stone that’s been heating for forty minutes might be just as ready as one that’s been sitting for an hour. If you see a faint, even sheen developing, you’re doing it right; if you see smoke, you’ve pushed it too far and need to back off.
- Keep your oil light—think a mist, not a soak. If you drown the stone, you aren’t seasoning it; you’re just making a mess that will smoke up your kitchen and leave a tacky, burnt residue that no amount of scraping will fix. You want a microscopic layer that bonds with the pores, not a puddle.
- Don’t go hunting for “specialty” oils. A simple, high-smoke-point oil is all you need. I’ve seen people waste money on fancy infusions when a basic, reliable oil does the job better. The goal is a stable surface, not a scented one.
- Let it rest before you trust it. Once you’ve finished the seasoning, don’t immediately throw a high-hydration dough onto it. Give the stone a chance to stabilize its temperature and let that oil finish its work in the heat. A stone that’s still “settling” can be temperamental.
- Patience with the cleaning is just as important as the seasoning itself. When the time comes to clean it, stay away from soap like it’s a plague. A stiff brush and some warm water are your friends; soap will strip away the very seasoning you worked so hard to build, and you’ll be right back where you started.
Lessons from the Oven Floor
Don’t treat your stone like a piece of kitchenware; treat it like a tool. A properly seasoned stone is a living thing that holds heat and respects your crust, so give it the time it needs to settle in before you start throwing loaves at it.
Temperature is your master, not your servant. If you rush the seasoning with heat that’s too high, you’ll end up with a scorched, uneven mess rather than a smooth, non-stick surface that actually works for you.
If things go wrong, look at your technique before you blame the stone. A stone is only as good as the person using it, and if your dough is sticking, it’s usually because the surface wasn’t prepared with patience or your handling was too hurried.
Respect the Heat, Respect the Stone
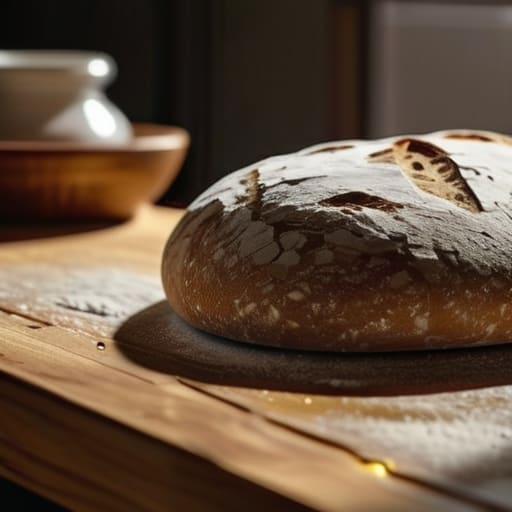
At the end of the day, seasoning your stone isn’t about following a rigid set of instructions found in some glossy magazine; it’s about understanding how heat interacts with a surface. You’ve learned that you can’t just throw a cold stone into a screaming hot oven, and you’ve seen that a light, even application of oil is what builds that essential non-stick barrier over time. Whether you are managing the temperature carefully to avoid thermal shock or ensuring your oil coating is thin enough to soak in rather than pool and smoke, you are setting the stage for every loaf that follows. Remember, a well-seasoned stone is a living thing in your kitchen—it reacts to the moisture in your dough and the heat of your oven, and it requires steady, patient preparation to perform its best work.
Don’t let a little bit of unevenness or a stubborn spot discourage you. I’ve seen many a baker get frustrated when their first few bakes don’t come out with that perfect, professional crust, but that is often just the stone finding its rhythm. Baking is a conversation between you, your ingredients, and your tools. If the stone isn’t behaving, check your temperature, check your handling, and give it time to settle. Once you stop fighting the equipment and start working with it, you’ll find that the most beautiful crusts come from the surfaces we have treated with the most respect. Now, stop reading and go check your oven; that dough isn’t going to proof itself.
Frequently Asked Questions
Do I really need to use oil, or will a dry heat season the stone well enough on its own?
Dry heat alone is like trying to bake a loaf without salt—it’ll technically work, but you’re missing the soul of the thing. If you skip the oil, you aren’t really seasoning; you’re just drying out the pores. A thin, even layer of oil fills those microscopic gaps, creating a surface that actually loves your dough rather than fighting it. Don’t be stingy, but don’t drown it either. Just a whisper of oil.
If I see a bit of smoke coming from the oven during the seasoning process, have I gone too far and ruined the stone?
Take a breath; you haven’t ruined it. A bit of smoke is just the oil doing its job, finding its way into the pores of the stone. If it’s just a thin wisp, you’re right on track. If the smoke gets thick and acrid, though, your heat is too high or you’ve used too much oil. Turn it down and let it settle. A stone isn’t a fragile thing—it just needs a steady hand.
How often should I re-season my stone, or is this a one-time job that stays done?
It isn’t a one-and-done affair, though you needn’t fret over it every Tuesday. Think of it like a well-loved cast iron skillet; it lives and breathes with your kitchen. If you notice the surface becoming dull or, heaven forbid, starting to stick to your dough, it’s time for a light touch of oil and a bit of heat. Just keep an eye on how the bread releases. If it slides, your stone is hungry again.