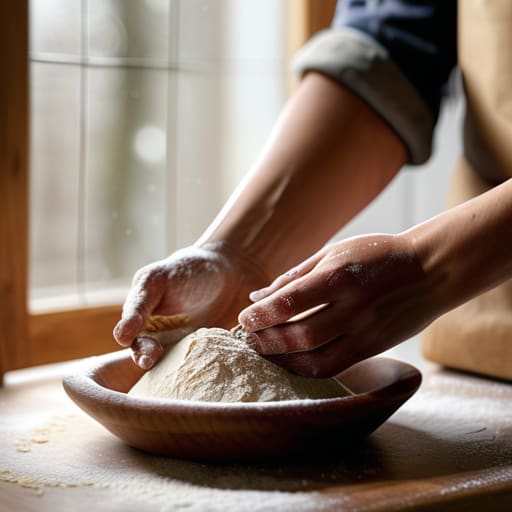
If you’ve spent your morning scrolling through glossy websites telling you that you need a $600 stand mixer and a pantry full of exotic, imported flours just to learn how to start baking properly, do yourself a favor and close the tab. I spent thirty-four years in a bakery where the only “high-tech” tool I had was a wood-fired oven that behaved more like a temperamental child than a piece of machinery. Most of those fancy gadgets are just distractions from the truth: baking isn’t about the equipment you buy, it’s about understanding the life inside the dough.
I’m not here to sell you a lifestyle or a kitchen makeover; I’m here to teach you how to listen to your flour and water. I’ll show you why I refuse to use a single measuring cup and why you should start thinking in percentages instead of scoops. We are going to focus on the things that actually matter—temperature, timing, and the feel of the dough under your palms. If you’re willing to put down the cookbook and actually pay attention to the science of the wait, I promise you’ll stop making bread and start actually baking it.
The Truth of Baking Measurements vs Volume
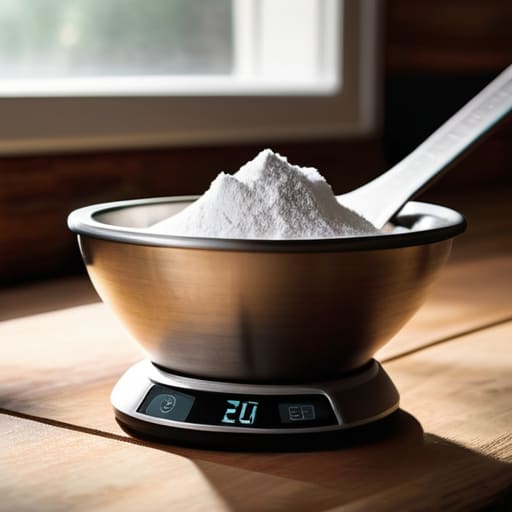
If you walk into my kitchen and reach for a measuring cup, I’ll probably sigh before you’ve even finished the motion. I know, it’s what everyone does, but you need to understand that baking measurements vs volume is the difference between a predictable loaf and a heavy, sad brick. A cup of flour can weigh anywhere from 120 to 160 grams depending on how tightly you’ve packed it or how much humidity is in the air that morning. When you’re working with a recipe that relies on those fickle scoops, you aren’t actually following a recipe; you’re playing a game of chance.
To truly get started, you need to embrace the scale. I always work in percentages because it allows me to see the soul of the dough—the hydration level—before I even touch the flour. If I tell you a dough is 75% hydration, you know exactly how it should behave under your palms, regardless of whether you’re making a small boule or a massive batch of rolls. One of the most common beginner baking mistakes is trying to compensate for a dry dough by adding more water, when really, you just measured your flour poorly to begin with. Get a digital scale, stop guessing, and let the numbers do the heavy lifting.
Essential Baking Tools for Beginners Who Mean Business
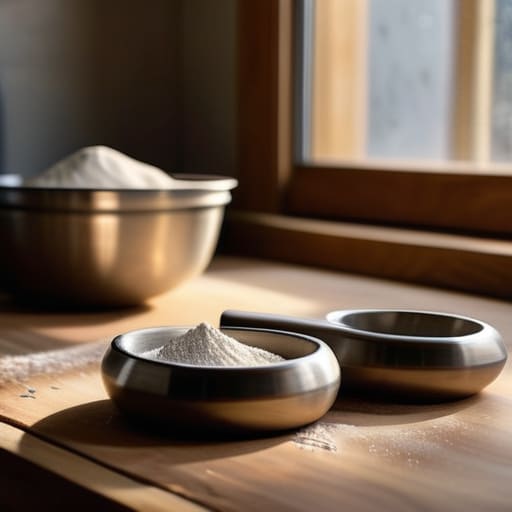
Now, don’t go running to the kitchenware aisle and buying every shiny gadget with a silicone spatula attached. Most of those “must-have” kits are just expensive ways to clutter your drawers. If you’re serious about essential baking tools for beginners, you only need a few things that actually work. First, get a digital scale; I don’t care if it’s cheap, as long as it’s accurate to the gram. Second, get a sturdy bench scraper. It’s your best friend for cleaning the work surface and handling sticky dough without tearing it to pieces.
You also need a heavy-bottomed pot—a Dutch oven is ideal—to mimic the steam of a professional hearth. This is where most people stumble; they think a fancy mixer will save them, but a heavy pot and a bit of patience do more for your crust than any machine ever could. Finally, stop trusting the little knob on your stove. Understanding oven temperatures means owning a separate, reliable oven thermometer. If your oven says it’s 220°C but it’s actually hovering at 200°C, your bread will be a dense, sad brick, no matter how much heart you put into it.
The Three Pillars and a Little Bit of Soul
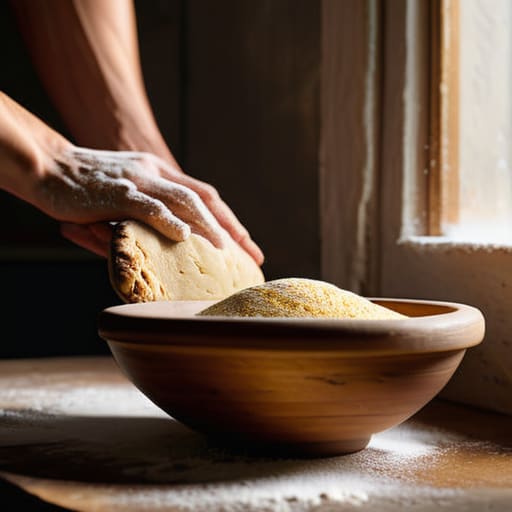
- Learn to read the temperature, not the clock. A recipe might say “let rise for two hours,” but if your kitchen is as cold as a stone cellar, that dough isn’t going anywhere. You have to watch the dough; wait until it has actually doubled and feels aerated and alive, regardless of what the timer says.
- Master your hydration levels early on. Don’t just tell me you’re using “two cups of water”; tell me if you’re working with a 65% hydration dough or an 80% one. Knowing that percentage changes everything about how you handle the dough, how much flour you’ll need for dusting, and exactly how much strength you’ll need to build through folding.
- Stop fighting the dough and start listening to it. If you’re kneading with heavy, angry hands, you’ll tear the gluten structure apart before it even has a chance to breathe. You want to work with the tension, not against it. If the dough feels tight and stubborn, walk away for ten minutes; it isn’t being difficult, it’s just tired.
- Respect the “bulk” stage more than the bake. Most beginners obsess over the oven temperature, but the real magic—or the real disaster—happens during that first long fermentation. If you rush the bulk fermentation because you’re hungry, you’ll end up with a loaf that tastes like nothing and has the structural integrity of a wet sponge.
- Get comfortable with a little bit of failure. I’ve spent thirty-four years pulling loaves out of ovens that looked like nothing more than sad, flat pancakes. When that happens, don’t throw the flour in the bin; look at the crumb, feel the crust, and ask yourself if the oven was too hot or if you handled it too roughly. Every “bad” loaf is just a lesson you haven’t written down yet.
The Baker's Core Truths
Put the measuring cups in the back of the drawer; if you aren’t weighing your ingredients in grams, you aren’t baking, you’re just guessing.
Respect the environment as much as the recipe, because a cold kitchen or a drafty counter will change your dough long before the clock tells you to move.
Learn to listen to the dough with your hands rather than your eyes, because a photograph can’t tell you if your gluten is developed or if your fermentation has gone too far.
The Baker’s Path Forward
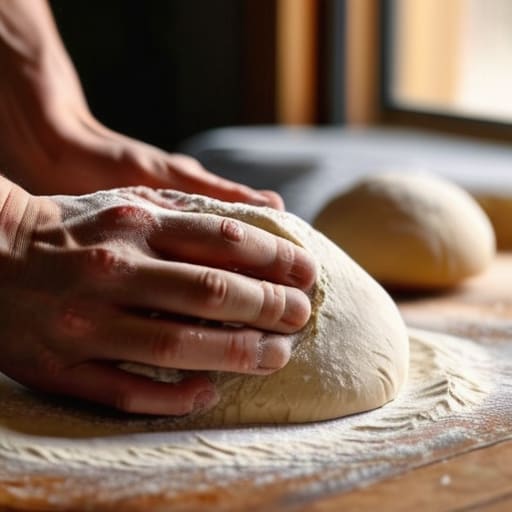
So, if you’ve gathered your scale, ditched those deceptive measuring cups, and invested in a few tools that actually work, you’re already ahead of most. Remember that baking isn’t a series of rigid commands to be obeyed, but a conversation between you and your ingredients. You’ve learned that hydration percentages matter more than a “cup of flour,” and that your tools are only as good as your understanding of them. If your first loaf comes out looking more like a brick than a boule, don’t go scouring the internet for a new recipe. Instead, look at your kitchen temperature, check how much you worked the dough, and ask yourself if you actually gave it the time it asked for. Most mistakes aren’t written in the ink of a cookbook; they are written in the air and the touch.
Don’t let the fear of a collapsed crumb keep you from the oven. I spent thirty-four years starting my days in the dark, and I can tell you that the most profound lessons usually happen when things don’t go according to plan. A failed sourdough is just a very expensive lesson in patience, and a flat cake is simply an invitation to try again with a warmer room. Trust your hands more than your eyes, and never be afraid to get a little flour under your fingernails. Baking is a slow dance, and once you stop trying to rush the rhythm, you’ll find that the dough eventually learns to dance with you.
Frequently Asked Questions
If I'm using a scale, how do I actually know if my dough has reached the right hydration level just by looking at it?
You don’t “look” at hydration; you feel it. If you’re sitting at 75% hydration, that dough shouldn’t look like a stiff ball of clay, but it shouldn’t be a puddle, either. It should look tacky—almost like it wants to cling to your fingers—and have a certain slackness, a gentle slump when you nudge it. If it fights you and snaps back like a rubber band, you’re too dry. If it’s a weeping mess, you’ve gone too far.
My kitchen is always freezing in the winter; how am I supposed to keep my dough from stalling when the temperature isn't cooperating?
Listen, a cold kitchen isn’t a death sentence, it’s just a slower clock. If your dough is stalling, stop fighting the room and start managing your water temperature. Use slightly warmer water than usual—aim for about 30°C—to give that initial boost. You can also tuck your proofing bowl inside a turned-off oven with the light on; that little bulb provides just enough warmth to keep the yeast breathing without cooking it.
I've tried following recipes exactly, but my bread always comes out dense—is it my technique or is my oven lying to me?
It’s likely a bit of both, but I’d bet my starter on your handling first. If your dough feels tight and stubborn, you’re fighting it instead of working with it. You’re probably under-proofing because you’re rushing, or your hands are being too heavy-handed during the folds. And yes, your oven is almost certainly lying to you; those little dials are notoriously unreliable. Buy an oven thermometer. If the heat isn’t steady, the bread won’t be either.