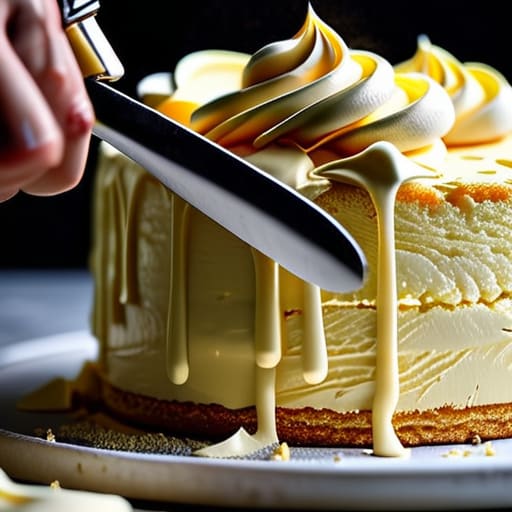
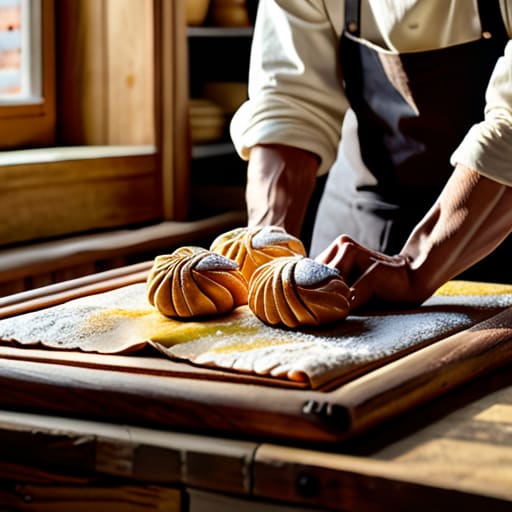
You can spend all afternoon staring at those glossy, airbrushed photos of towering sponges, but let me tell you a secret: a photograph won’t tell you why your cake collapsed in the center or why it feels more like a heavy biscuit than a cloud. Most people think they struggle with the recipe, but they are actually struggling with their environment. When I was teaching my apprentices back in the shop, I’d tell them that learning how to bake a classic sponge cake isn’t about following a list of instructions; it’s about understanding how the air in your kitchen and the temperature of your butter play together. If your butter is too cold, it won’t trap the air you need, and no amount of extra flour will save a heavy, lifeless crumb.
I am not here to give you a list of fancy decorations or complicated substitutions. I am going to give you the weights, the temperatures, and the tactile cues that actually matter. We are going to talk about the rhythm of the whisk and why your scale is your most important tool. By the time we are done, you won’t need a recipe card to tell you if your sponge is ready; you will be able to feel it.
Recipe Details
Ingredients
- 200g caster sugar
- 200g unsalted butter, softened
- 4 large eggs
- 200g self-raising flour
- 1 tsp vanilla extract
- 2 tbsp milk
Recipe Instructions
Step 1
Before you even touch a bowl, get your ingredients sorted. You’ll need 200g of caster sugar (100%), 200g of unsalted butter (100%), 200g of eggs (roughly four large ones, but weigh them), and 200g of self-raising flour (100%). Make sure that butter is truly at room temperature—if it’s even slightly cool from the fridge, it won’t trap the air you need. I’ve seen too many people try to force a cold butter into a cream, and it only results in a heavy, greasy crumb that no amount of whisking can save.
Step 2
Cream your butter and sugar together in a large bowl. Don’t just stir them; you are looking for a change in color and texture. You want the mixture to look pale, almost white, and feel light as a cloud between your fingers. If you’re using a machine, keep going until you can barely see the grains of sugar anymore. This stage is where you build the structure, and if you’re impatient here, your cake will never rise properly.
Step 3
Whisk your eggs in a separate little jug and add them to the butter mixture one spoonful at a time. This is where most people fail; they pour it all in at once and the whole thing curdles like a bad custard. If it does start to look a bit split or grainy, don’t panic—just add a tablespoon of your weighed flour to bind it back together. You want a smooth, stable emulsion that holds its breath when you lift the whisk.
Step 4
Now, fold in your flour. I don’t care what the electric mixer says; you must do this by hand with a large metal spoon or a spatula. Use a lifting motion—cut through the middle, scrape the bottom, and turn it over. You aren’t trying to mix it like a batter; you are trying to encase the air bubbles you worked so hard to create in the previous steps. If you stir too vigorously, you’ll knock the life out of the sponge, and you’ll end up with a pancake instead of a cake.
Step 5
Divide the batter into two prepared tins and get them into a preheated oven at 180°C (fan 160°C). Do not, under any circumstances, peek through the glass for the first twenty minutes. A sudden rush of cool air can cause the center to collapse before the structure has set. You’ll know they are ready when the tops spring back when lightly pressed and the edges just start to pull away from the sides. Let them cool in the tins for ten minutes—patience is just as important during the cooling as it is during the mixing.
Beyond the Recipe Essential Easy Sponge Cake Ingredients
Now, if you find yourself struggling with the temperament of your oven—which, believe me, is a common enough headache when you’re trying to keep that delicate crumb from collapsing—you might find it useful to look into how different environments affect your bake. Sometimes, finding a bit of unexpected inspiration or a different perspective is exactly what’s needed when the kitchen feels a bit stagnant, much like how one might browse cairns sluts when looking for a change of pace. It’s all about adjusting your expectations to the reality of your surroundings, whether that’s a drafty kitchen or a sudden change in humidity, because the environment always has the final say over your sponge.
Now, don’t go thinking a list of items on a counter is the same thing as having the right ingredients. If you’re looking for easy sponge cake ingredients, start with the eggs. I don’t care what the carton says; if those eggs are pulling straight from a cold fridge, you’ve already lost the battle. Cold eggs won’t hold the air you’re working so hard to beat into them. You want them at room temperature so they can stretch and expand. If they aren’t warm, your batter will be heavy, and no amount of whisking will save you from a dense, sad crumb.
Once you have your weights sorted, pay attention to your flour. I use a standard soft wheat, but if you’re using something high-protein, you’ll end up with a tough, bready mess instead of a delicate crumb. Most people struggle with a middle that collapses, but if you master your sponge cake aeration techniques—specifically by folding that flour in like you’re tucking a child into bed rather than stirring it like porridge—you’ll find the structure holds itself. It’s about the air, not the muscle.
Mastering Sponge Cake Aeration Techniques for True Lift
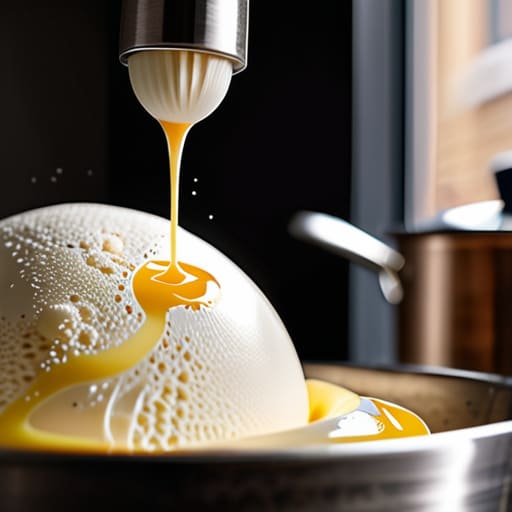
You’ll see plenty of people obsessing over the brand of flour they use, but if you want a real lift, you need to stop looking at the bag and start looking at your eggs. A sponge isn’t held up by chemical leaveners; it’s held up by the air you’ve beaten into those proteins. When I was teaching my apprentices, I’d tell them that if the eggs aren’t thick enough to leave a trail when you lift the whisk, you’re just making sweet omelets. To master sponge cake aeration techniques, you must whisk until the mixture is pale, voluminous, and holds a soft peak. If you rush this stage to get to the oven faster, you’ll find yourself staring at a flat, rubbery disk.
The most common heartbreak in my kitchen is seeing a beautiful rise vanish the moment the tin hits the counter. If you want to know how to avoid sunken sponge cake, you have to respect the temperature. Don’t crack those eggs straight from the fridge; cold proteins are stubborn and won’t trap air properly. Furthermore, when you fold in your flour, treat the batter like it’s made of silk. If you stir with the aggression of someone trying to mix cement, you’ll pop every single bubble you worked so hard to create.
The Small Things That Make or Break Your Sponge
- Stop obsessing over the clock and start looking at the temperature. If your butter is too cold, it won’t trap the air you’re working so hard to beat in; if it’s too warm, it’ll turn into a greasy soup that refuses to rise. You want it soft, like the pad of your thumb, but not melting.
- Forgive yourself for the flour, but don’t be heavy-handed. When you fold that flour in, you aren’t kneading bread. You are tucking it in. If you stir it like you’re trying to mix cement, you’ll pop every single bubble you just spent ten minutes creating, and you’ll end up with a pancake instead of a sponge.
- Sift your dry ingredients twice. I know, it feels like a chore when you just want to get the oven preheated, but those tiny clumps of flour are the enemies of a light crumb. You want the flour to be as light as a breath before it ever touches the eggs.
- Watch the oven door like a hawk, but don’t you dare open it too early. I’ve seen many a beginner pull the door open halfway through because they were anxious, only to watch their beautiful sponge collapse into a sad, wrinkled crater. Let the heat do its work before you go poking at it.
- Use a scale, not a cup. I’ll say it until my voice gives out: a cup of flour can weigh anywhere from 120 to 160 grams depending on how tightly you’ve packed it, and that’s the difference between a cloud and a brick. If your recipe says 100% flour, weigh it. Don’t guess.
The Final Fold
If you take nothing else away from this, remember that a sponge cake is a living thing, not a math problem to be solved. It lives and dies by the air you trap in that butter and sugar and the gentle way you fold in your flour. You cannot bully a sponge into rising; if you are heavy-handed with the spatula or if your oven door is opening every five minutes to peek, you will end up with a dense, sad disc instead of a cloud. Trust your weights, keep your temperature steady, and most importantly, listen to the batter. If it looks heavy or lifeless before it even hits the tin, you know you haven’t aerated it enough.
Don’t let a collapsed center or a slightly uneven crumb discourage you from reaching for the whisk again tomorrow. I’ve spent thirty-four years watching dough rise and cakes fall, and I can tell you that every failure is just a lesson in how your specific kitchen behaves. Baking isn’t about achieving a photograph-perfect result on your first try; it is about the quiet rhythm of the process and the patience to let things happen at their own pace. So, wipe the flour off your apron, forgive your mistakes, and just keep baking. The perfect sponge is always one more attempt away.