I remember sitting in the back of my shop at five in the morning, the flour dust dancing in the light of the oven, watching a young apprentice try to salvage a batch of brioche that had gone stone-cold and stale because he’d packed them into containers while they were still breathing steam. He thought he was being efficient, but he was actually just suffocating his hard work. Most people treat freezing like a magic trick or a way to hide a mistake, but if you want a complete guide to freezing bakes that actually works, you have to stop treating your bread like a commodity and start treating it like a living thing.
I’m not going to give you a list of fancy vacuum sealers or expensive gadgets you don’t need. Instead, I’m going to tell you how to protect the moisture and the soul of your grain so that a loaf pulled from the frost on a Tuesday feels just as honest as the one that left my oven on a Sunday. We’ll talk about temperature, the importance of a tight seal, and why how you thaw is just as vital as how you freeze. This isn’t about preservation; it’s about keeping the craft alive until the very last crumb.
Freezing Dough vs Finished Bakes Choosing Your Moment
Now, you have to decide if you’re prepping for a busy week or a busy month. If you’re looking at freezing dough vs finished bakes, you’re really deciding how much work you want to do later. I always tell my regulars that freezing dough is like putting a clock on pause; you’re preserving the potential of the flour and water before the yeast has had its fun. It’s wonderful for those mornings when you realize you’ve forgotten to start your levain, but you have to be careful not to let the yeast exhaust itself while it’s sitting in the cold.
On the other hand, freezing a finished loaf or a batch of scones is about convenience. You’ve already done the hard labor—the kneading, the shaping, the waiting—and now you’re just preserving the result. When you go this route, you must be meticulous about preventing freezer burn in pastries and breads alike. If you leave air in the bag, the frost will find it, and you’ll end up with a crust that tastes more like ice than grain. Wrap them tight, use the best storage containers for bread you can find, and treat them with the respect a finished bake deserves.
The Best Storage Containers for Bread to Defy the Frost
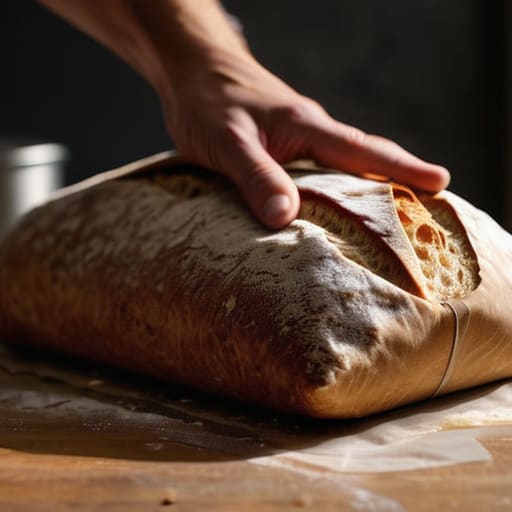
If you think a simple plastic bag is enough to protect your hard work, you’re asking for trouble. I’ve seen too many beautiful loaves come out of the freezer looking like they’ve been through a desert because of ice crystals. When it comes to selecting the best storage containers for bread, you need to think about air. Air is the enemy. If there is even a tiny pocket of space inside that bag, that’s where the frost will settle, and that is exactly how you end up with freezer burn. I always prefer heavy-duty, freezer-grade zip bags that I can squeeze every last bit of oxygen out of before sealing, or even better, airtight containers that actually snap shut with a bit of resistance.
For my more delicate work, like those buttery croissants or fruit-filled Danishes, I take extra care with preventing freezer burn in pastries. A single layer of parchment between each item stops them from turning into one giant, frozen brick. If you’re storing something with a high fat content, like a rich pound cake, a double wrap—first in beeswax cloth or parchment, then in a tight bag—is the only way to maintain the integrity of the crumb over time. Treat your containers like you treat your oven: if they aren’t reliable, the whole process falls apart.
Five Rules to Keep the Soul in Your Bake
- Freeze when the dough is at its peak, not its decline. If you’re freezing dough, do it right after your final shaping but before that last proof. You want to catch the yeast while it’s still got the energy to fight the cold; if you wait until the dough is already tired and over-proofed, the freezer will only finish the job.
- Moisture is your best friend and your worst enemy. If you don’t wrap your finished loaves in a way that keeps the internal moisture locked in, you’ll end up with something that tastes like a piece of dry cardboard. Use a heavy-duty freezer bag, squeeze every last bit of air out of it, and treat it like you’re protecting a treasure.
- Mind the temperature shock. Never, and I mean never, pull a loaf straight from the ice-box darkness and throw it into a hot oven. You’ll shock the structure and end up with a gummy, dense mess. Let it sit on the counter until it’s lost its chill; it needs to wake up slowly, just like I did every morning at four.
- Small batches are the baker’s secret. Don’t go freezing a massive, singular block of dough that takes three hours to thaw. Wrap your portions individually. I always tell my neighbors: if you can’t thaw it in the time it takes to boil a kettle, you’ve made the portion too large.
- Listen to the crumb when you thaw. When you take something out of the freezer, the way it feels as it returns to room temperature tells you everything. If it feels limp or overly wet, your seal wasn’t tight enough. If it feels firm and resilient, you’ve done it right. Trust your hands more than the clock.
The Baker’s Three Golden Rules for the Freezer
Respect the moisture; whether you are freezing a raw dough at 65% hydration or a finished sourdough, wrap it tight enough to keep the air out but leave enough room for the bread to breathe once it thaws.
Never, under any circumstances, rush the defrost; a loaf pulled straight from the ice into a hot oven will shock the crumb and leave you with a gummy mess that no amount of heat can fix.
Timing is everything—freeze your dough when it has just reached its first peak of activity, not when it’s already tired and over-proofed, or you’ll find the soul has gone out of the grain by the time it hits the oven.
The Final Proof
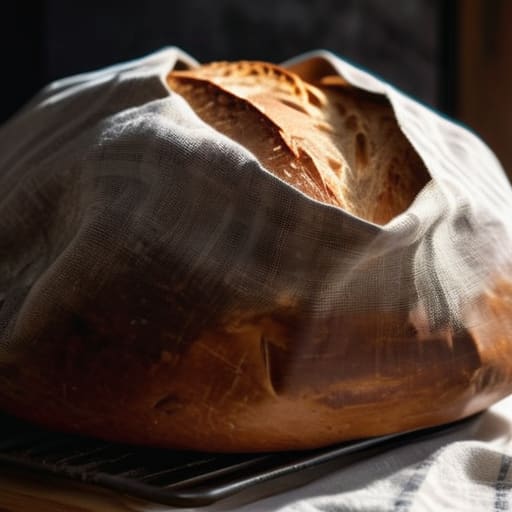
At the end of the day, whether you are tucking away raw, high-hydration dough or a finished sourdough boule, the goal is to protect the moisture you worked so hard to build. Remember that the freezer is a thief of texture if you aren’t careful; use airtight barriers to keep the frostbite at bay and always, always prioritize temperature control during the thaw. If you’ve chosen to freeze dough, give it the grace of a slow, cold fermentation in the fridge before it ever sees the warmth of the oven. If you’re reviving a baked loaf, a quick flash of heat can do wonders to wake up the crust, provided you haven’t let it sit in a damp bag for too long. Respect the moisture content, and the freezer will become your best friend rather than your enemy.
I spent three decades watching the seasons change through a bakery window, and I can tell you that the best part of baking isn’t just the heat of the oven—it’s the ability to share that warmth even when the world feels a bit cold. Freezing isn’t a shortcut or a way to cheat the process; it is simply a way to extend your patience so that a perfect loaf is available even on the days when your hands are too tired or your kitchen is too busy. Don’t fear the ice. Treat your bakes with the same tenderness you gave them when they were just flour and water, and they will reward you with a rise that feels like home.
Frequently Asked Questions
If I freeze my dough before the final proof, will the yeast still have enough life left in it to give me a proper rise once it thaws?
It’s a fair question, and one that keeps many a baker awake. If you freeze after the first bulk ferment but before the final shape, you’re essentially putting the yeast into a deep sleep. Most of it will wake up, but it’ll be sluggish. Give it extra time to thaw in the fridge—don’t rush it—and expect a slightly shorter rise. It won’t have that same frantic energy, but it’ll still find its soul.
I’ve heard that freezing can mess with the moisture in a loaf; how do I stop my bread from coming out of the oven tasting dry or "freezer-burnt"?
Freezer burn is just dehydration in disguise. It happens when air finds a way to touch your bread. If you leave even a tiny gap between the crust and the wrap, the frost will steal the moisture right out of the crumb. I always double-wrap: a tight layer of parchment to protect the crust, then a heavy-duty freezer bag squeezed until every bit of air is gone. Treat the wrap like you treat your dough—be thorough.
When I'm thawing out a finished bake, should I leave it on the counter all day, or is there a better way to get that crust back to how it was when it first left the oven?
Leave it on the counter to thaw, but don’t just let it sit there like a forgotten loaf in a damp cellar. Once it’s at room temperature, you must wake it up. A quick, gentle flash in a hot oven—around 175°C for five to ten minutes—will coax the moisture back into the crumb and tighten that crust. If you skip the heat, you’re just eating soft, sad bread.