I remember the first time I lost a whole batch of summer peach preserves; I’d spent three days picking fruit only to find the jars cloudy and the seals broken by the following Tuesday. I thought I’d followed the instructions, but I’d been lazy with the heat, treating the preparation like a chore rather than the foundation of the whole process. Most people think that a quick rinse with boiling water is enough, but if you want to know truly how to sterilise jars so your hard work actually lasts through the winter, you have to respect the science of the heat. A jar that looks clean to the eye can still be a playground for spoilage if you haven’t treated it with the proper discipline.
In this guide, I’m not going to give you any of that sterilized, clinical nonsense that makes you feel like you’re working in a laboratory. Instead, I’ll show you exactly how to handle your vessels using methods that work in a real, messy kitchen. We will cover the difference between cleaning and sterilizing, how to manage your temperatures so you don’t crack your glass, and the one mistake most home cooks make when they think they’re finished.
Guide Overview
Tools & Supplies
- Large pot or stockpot for boiling water
- Tongs or jar lifter to handle hot glass safely
- Glass jars with lids and any necessary rings
- Water (enough to submerge jars)
Step-by-Step Instructions
- 1. First, you need to get your hands and your workspace ready. I don’t care if you think your kitchen is clean; if there is a speck of grease on the counter, it will find its way into your preserves. Wash your hands thoroughly and clear a space that is completely free of clutter. You’ll be working with hot glass and boiling water, and the last thing I need is you tripping over a stray tea towel or a pile of mail.
- 2. Start by washing your jars and lids in hot, soapy water. Use a good scrub brush to get into the nooks and crannies of the lids—that’s where the sugar and old residue love to hide. Rinse them well in warm water until you can no longer feel any slickness from the soap on the glass. If you leave even a trace of detergent behind, it can affect the seal, and we aren’t looking for a soapy jam, are we?
- 3. Now, get your large pot ready. Fill it with enough water to cover your jars completely, and don’t be stingy with it. I like to add a splash of vinegar to the water; it doesn’t do much for the science, but it helps cut through any remaining mineral deposits from your tap water. Bring that water to a rolling boil before you even think about touching the glass.
- 4. Carefully lower your clean jars into the boiling water. You must do this gently—if you drop them, they’ll crack, and a cracked jar is just expensive trash. Keep the heat up so the water stays at a constant boil, and let them sit there for at least ten minutes. You aren’t just warming them; you are killing every microscopic hitchhiker that might try to spoil your hard work.
- 5. While the jars are bathing, attend to your lids. Most modern lids are quite delicate, so don’t boil them as long as the glass. If the instructions say to just soak them in hot water, then trust the manufacturer and do exactly that. Overheating the lids can warp the sealing ring, and a warped lid is a useless lid.
- 6. Once your ten minutes are up, use tongs to lift the jars out of the water. Do not, under any circumstances, wipe them dry with a tea towel. Even the cleanest towel has tiny fibers and dust that will settle on the rim. Instead, place them upside down on a clean paper towel or a dedicated drying rack and let the air do the work.
- 7. Finally, keep an eye on them as they cool. You want them to reach room temperature naturally. If you rush them by putting them near a radiator or in a draft, the thermal shock might cause the glass to shatter. Once they are dry and warm to the touch, they are ready for your preserves, and you can proceed with the confidence that your hard work won’t go to waste.
The Boiling Water Bath Technique Patience Over Speed
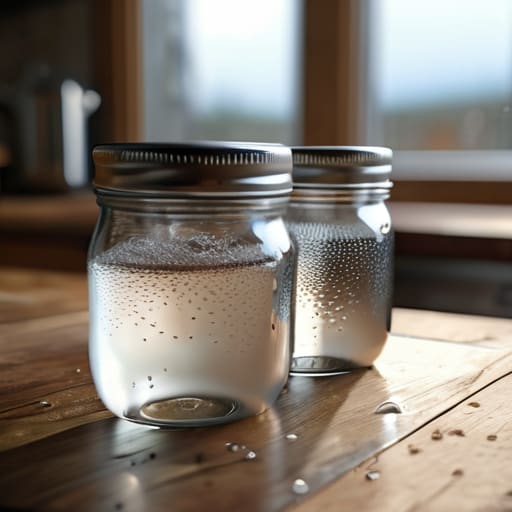
Now, listen closely, because this is where most people lose their nerve. When you are using the boiling water bath technique, the temptation is to turn the heat up high to make the water bubble violently, thinking more heat equals more clean. That is a mistake. You aren’t trying to cook the glass; you are simply ensuring that every microscopic nook and cranny is scrubbed by heat. Keep the water about an inch above your lids, and once it reaches a steady, rolling simmer, don’t you dare touch that dial. If you let the temperature drop too low, you aren’t actually doing the work, and you’re just playing with hot water.
I’ve seen many a bright-eyed beginner think they can skip the stove and toss everything in the machine, assuming their dishwasher safe glass jars are ready for the shelf straight from the rack. They aren’t. A dishwasher might get them clean enough for a midday snack, but it won’t give you the peace of mind required for long-term storage. You need that sustained heat to truly commit to preventing food spoilage. If you aren’t willing to stand by the pot for twenty minutes, you aren’t ready to preserve.
Preventing Food Spoilage Through Rigorous Oven Sterilization for Canning
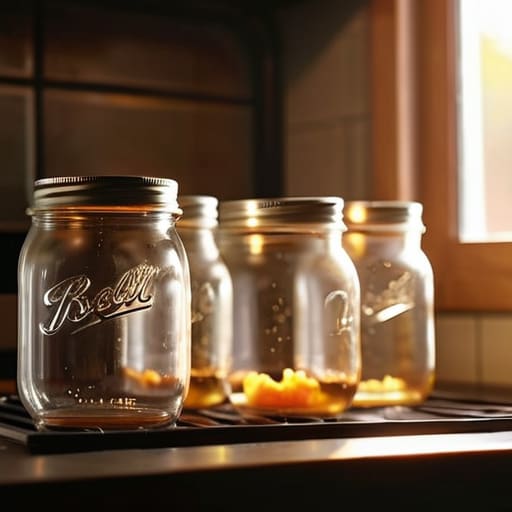
Now, if you aren’t keen on standing over a steaming pot for an hour, you can use the oven, but don’t go thinking it’s a way to skip the hard work. Oven sterilization for canning is a fine method, provided you treat your glass with respect. I always tell my neighbors: if you’re going to use the heat, do it right. Set your oven to a low, steady temperature—around 225°F (107°C)—and place your clean, damp jars inside. The moisture is key; it keeps the glass from cracking under the thermal shock. You aren’t just warming them; you are ensuring that every microscopic nook is stripped of what might cause trouble later.
The real goal here is preventing food spoilage before the lid even touches the rim. If you pull those jars out and let them sit on a cold granite countertop, you’ve wasted your time and risked a crack. Move them straight from the oven to your workstation. It’s a bit like handling a delicate sourdough starter—it needs a controlled environment. Using the oven is one of the most reliable canning jar sterilization methods for those with large batches, as long as you remember that heat is a tool, not a shortcut.
The Little Things That Save a Whole Batch of Preserves
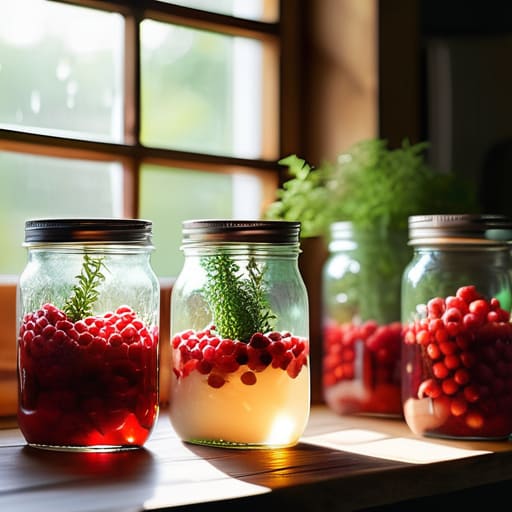
- Don’t be a stranger to your tea towel; use a clean, lint-free cloth to dry your jars immediately after they come out of the heat, or you’ll just be inviting moisture back into a space that should be bone-dry.
- Watch your lids like a hawk; if they have that rubbery seal, they only need a quick dip in hot water, but don’t you dare boil them hard or you’ll cook the seal right out of them.
- Mind the temperature shock; never take a hot jar and plunge it into a sink of cold water unless you want to spend your afternoon picking shards of glass out of your jam.
- Check your tools twice; if you’re using tongs to move your jars, make sure they aren’t covered in old grease or dust, otherwise you’re just transferring dirt from the tool to the vessel.
- Inspect the glass for the “invisible” flaws; run your thumb gently along the rim of every jar before you start—if there is even a tiny chip, toss it in the bin, because that’s where the spoilage will find its way in.
The Baker’s Final Word on Cleanliness
Never trust a jar that isn’t spotless; if you can’t see your own reflection in the glass before you start, you’re just inviting mold to the party.
Sterilization is about more than just heat—it is about the discipline of preparation, ensuring that your hard work isn’t undone by a single speck of dust or a microscopic bit of residue.
Respect the process and don’t try to cheat the clock; whether you use the stove or the oven, the heat needs time to do its job so your preserves stay safe long after they leave your kitchen.
The Final Check Before the Seal
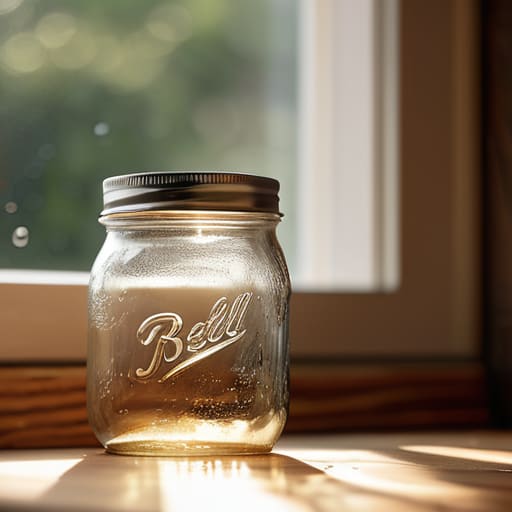
At the end of the day, whether you’ve opted for the steady heat of a boiling water bath or the dry, thorough warmth of the oven, the goal remains the same: a vessel that is absolutely pristine. You cannot shortcut the preparation stage and expect a preserve to last through the winter. Remember that a jar isn’t truly ready until it is spotless and steaming, free from any microscopic hitchhikers that might spoil your hard work. If you’ve been meticulous with your temperatures and haven’t rushed the drying process, you’ve already done the heavy lifting. It isn’t about following a checklist; it’s about ensuring that when you finally close that lid, you are locking in quality, not inviting trouble.
I know it feels like a lot of fuss for a bit of glass, but there is a quiet sort of peace that comes with knowing your pantry is safe. There is no feeling quite like pulling a jar from the shelf months later and seeing that seal holds firm, a testament to the work you did when no one was watching. Preserving is an act of respect for the harvest and for the time you spent growing or gathering your ingredients. Don’t let the technicalities daunt you; once you master the rhythm of the heat and the cleanliness of the glass, you aren’t just canning—you are building a legacy of flavor that will sit waiting for you when the seasons turn cold.
Frequently Asked Questions
Can I use a dishwasher to clean my jars before I start the sterilization process?
You can, but don’t mistake a clean jar for a sterile one. Use the dishwasher to get the stubborn bits of jam or residue off—I’ve seen too many people try to scrub a jar while it’s still lukewarm, and that’s how you get cracks. But once they come out of that machine, they aren’t ready for the shelf. You still have to go through the heat of the boiling bath. A dishwasher cleans; it doesn’t preserve.
Is it safe to reuse old jam jars from the pantry, or do they need a different kind of treatment?
You can certainly reuse them, but don’t you dare assume they’re ready just because they look clean. A jar that’s been sitting in a cupboard for a year has collected more than just dust; it has microscopic hitchhikers waiting for a meal. Scrub them in hot, soapy water first to get the residue off, then treat them like brand new. If they aren’t going through a proper heat sterilization, they aren’t safe for the shelf.
How do I know if the jars are actually sterile once I take them out of the hot water or the oven?
You won’t see a “sterile” sign, and no, you can’t smell it. If you’ve done the work—if the water was a rolling boil or the oven was steady—the proof is in the clarity. The glass should be gleaming, free of any cloudy film or stray bits of sediment. Most importantly, they should be bone-dry and hot. If they feel tacky or look streaky, you’ve rushed the drying. Start again.