I spent thirty-four years watching people treat breadcrumbs like an afterthought, or worse, something you should buy in a plastic shaker from a supermarket aisle. They’ll tell you that any old crust will do, but if you’ve ever tried to coat a cutlet in those dusty, flavorless granules, you know they’re a disappointment. Most people struggle with how to make breadcrumbs properly because they think it’s about the grinding, when it’s actually about the moisture content of the loaf you start with. If you use bread that’s still too soft, you aren’t making crumbs; you’re making a gummy paste that will stick to your pan like glue.
I’m not here to give you a fancy culinary lecture or tell you to buy a specialized electric processor. I want to teach you how to respect the grain by using what you have in the pantry. I’ll show you why a day-old sourdough is worth its weight in gold and how to achieve that perfect, golden crunch by controlling the texture of your crumbs. We aren’t chasing a photograph here; we are chasing the kind of honest, honest-to-goodness texture that makes a simple meal feel like it was worth the effort.
Choosing the Best Bread for Breadcrumbs and Structural Integrity
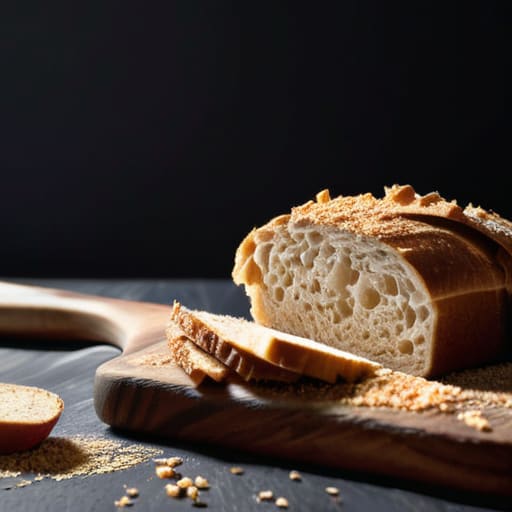
If you go to the supermarket and grab a plastic-wrapped loaf of sandwich bread, you might as well be trying to make crumbs out of wet sponge. It won’t work. To get a proper homemade breadcrumb texture, you need a loaf with a sturdy, honest crumb and a crust that has some backbone. I always tell my regulars that the best bread for breadcrumbs is something that has been sitting on the counter for a day or two—not so hard it’s a weapon, but dry enough that it doesn’t clump. A sourdough or a rustic country loaf is your best friend here; the higher protein content and the natural acidity give you a crumb that stays distinct rather than turning into a paste.
Don’t worry about the fancy stuff you see in the shops, like the difference between panko vs traditional breadcrumbs. Panko is airy and light, sure, but it lacks the soul of a crumb made from a real, fermented loaf. If you want depth, use something with a bit of character. You aren’t just looking for volume; you’re looking for a structure that can hold up when you eventually hit it with salt or herbs.
The Art of Toasting Bread for Crumbs Without Burning
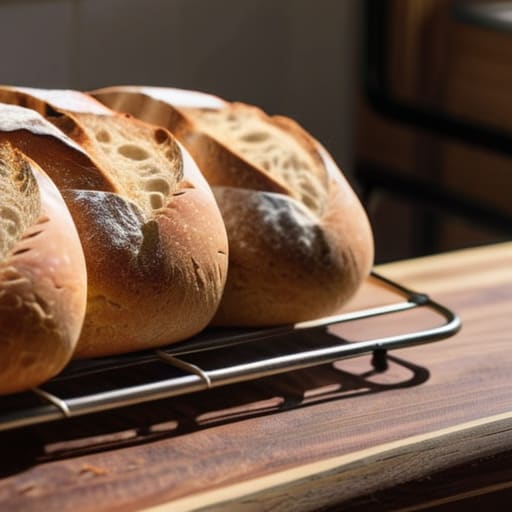
Now, once you have your loaf, you mustn’t rush the drying process. I’ve seen too many people crank the oven to 200°C thinking they’re being efficient, only to end up with something that smells like a campfire and tastes like ash. When you are toasting bread for crumbs, you aren’t looking for a golden-brown toast for breakfast; you are looking to drive out the moisture. Set your oven low—around 120°C to 140°C—and let the heat work its way into the center of the slice. You want the bread to feel light and slightly brittle, like a dried sponge, but not charred.
If you see the edges turning dark brown too quickly, your oven is too hot or your air is too dry. Pull them out when they are pale and firm. This step is what dictates your final homemade breadcrumb texture; if the bread is still even slightly soft in the middle, your crumbs will clump together into a heavy, gummy mass once they hit the pan. You want them bone-dry so they stay individual and crisp when you finally use them.
Five Ways to Stop Making Gummy Dust
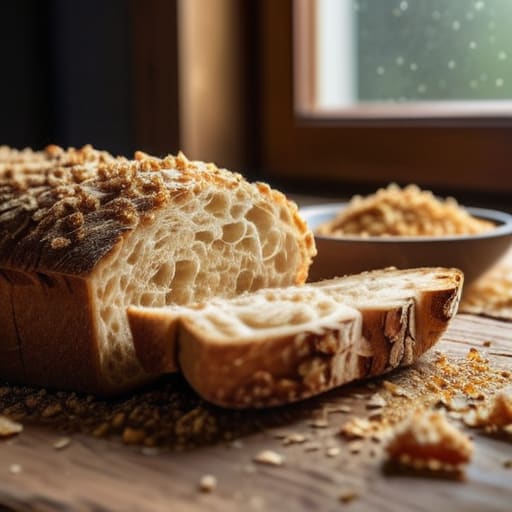
- Respect the moisture content. If you’re using a loaf with a high hydration—anything over 75%—you must let it sit on a wire rack until it feels light and slightly hollow when you tap it. If you rush into the processor while the center is still soft, you won’t get crumbs; you’ll get a paste that’s more bread than crumb.
- Mind your grind size. Not every dish needs a fine powder. For a schnitzel, you want something coarse that can hold its own against heat; for a binder in a meatball, you want a finer grit. I always pulse my machine in short bursts—three seconds on, three seconds off—to feel the texture with my fingers rather than relying on my eyes.
- Sift out the “dust.” After you’ve processed your bread, pass it through a coarse sieve. You’ll find a pile of fine, flour-like powder at the bottom. Don’t throw it away, but don’t use it for everything either. That fine dust is for coating; the larger, irregular pieces are what give a dish its much-needed crunch.
- Store them like you store your flour. Breadcrumbs are thirsty; they will pull every bit of humidity out of your kitchen air until they’re a clumpy, useless mess. Keep them in a heavy glass jar with a tight seal, and if you’ve made a large batch, put them in the freezer. They’ll stay crisp and honest for months that way.
- Seasoning is a separate act. Most people think they need to add salt to the bread itself, but if you’ve toasted your bread properly, you’ve already developed flavor. I prefer to season the dish the crumbs are going into, rather than the crumbs themselves. It keeps the flavor from getting lost in the heat of the pan.
The Baker's Final Rules for Perfect Crumbs
Stop using fresh, soft loaves; you need bread that has lost its moisture and feels slightly resistant to the touch, otherwise you’ll end up with a gummy paste instead of distinct crumbs.
Control your heat like you’re tending a sourdough; if you rush the toasting process on high heat, you’ll scorch the outside while the center stays damp, leading to a bitter, uneven result.
Remember that the best crumbs come from patience, not a food processor; pulse your bread sparingly to keep some texture, because a handful of varied crumbs does much more work in a dish than a fine, lifeless powder.
The Final Crumb
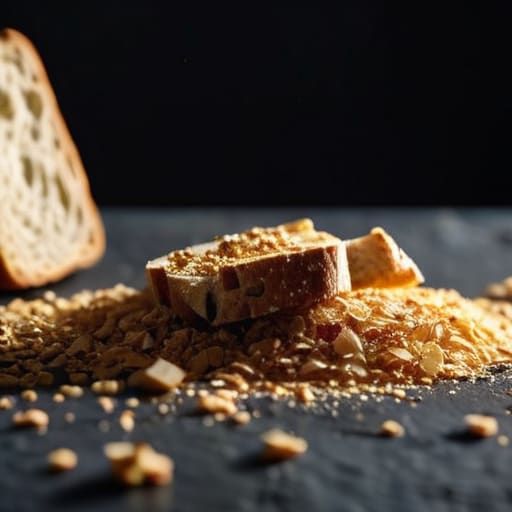
At the end of the day, making proper breadcrumbs isn’t some grand culinary achievement; it is simply about respecting the ingredients you already have. Remember that it all starts with the foundation—choosing a loaf that has enough structure to hold its own, rather than something soft and pillowy that will turn into a paste. You must control the heat when you toast, moving slowly to ensure the moisture is gone without turning the bread into bitter charcoal. Whether you are aiming for a fine dust for a coating or a coarse, rustic crumb for a topping, the secret lies in the texture and the dryness of the grain. If you have taken the time to dry it properly and pulse it with intention, you will find that your crumbs behave exactly how they ought to in the pan.
I spent decades watching people throw away perfectly good bread because they thought it was “old,” but in my kitchen, old bread was a treasure waiting to be repurposed. Don’t be afraid to let a loaf sit out on the counter for a day or two; that loss of moisture is exactly what gives a breadcrumb its honest, crisp bite. Baking and cooking are rarely about following a list of instructions to the letter; they are about understanding how heat and air change the things we touch. So, stop rushing, stop reaching for the pre-packaged bags in the supermarket, and start listening to the bread. You’ll find that the most rewarding things in life are often just the things we took the time to do right.
Frequently Asked Questions
Can I use a sourdough loaf that’s gone a bit too sour, or will that mess with the flavor of my sauce?
You can certainly use it, but you must respect its strength. That extra tang won’t disappear once it hits the pan; it will only deepen. If you’re making a rich, creamy béchamel or a heavy ragù, that acidity can actually be a blessing—it cuts right through the fat like a sharp knife. But if you’re aiming for a delicate, sweet sauce, that sourdough will fight you. Taste a tiny bit of the crumb first; if it bites back, plan for a sauce that needs a bit of balance.
If I want those fine, sandy crumbs for a coating, should I pulse them in a machine or stick to the old way with a knife?
If you’re looking for that fine, sandy texture for a coating, a machine will get you there faster, but you have to be careful. A food processor is a blunt instrument; if you leave it running for even a second too long, you’ll end up with bread dust instead of crumbs. I prefer a sharp knife and a steady hand. It takes longer, but you control the grit, and you won’t accidentally turn your crusts into a paste.
My crumbs feel a bit too heavy and clumpy after toasting; did I leave them in too long or is it the moisture in the bread?
It’s the moisture, dear. If they’re clumping, your bread was still too “alive” inside when you toasted it. You haven’t toasted them long enough to drive out that internal humidity. Don’t look for a golden color; look for a bone-dry feel. If you pick up a handful and they stick together like wet sand, they aren’t ready. Give them another few minutes at a lower heat. They should feel like tiny, individual pebbles.